Showing posts with label Slinky. Show all posts

Thursday, February 9, 2023

Lotta TaDa—The Last Two Quilts Finally Finished

I thought this was a good title for my post about my Lotta Jansdotter quilts. Last August, I observed a”Ya Gotta Lotta” month with the making and finishing of the Lucky Jerry Lotta Quilt plus two flimsies using my stash of Lotta Jansdotter fabric. I’m participating in the 2022/23 Country Threads Dirty Dozen UFO Challenge and have a choice of finishing a project that’s either a UFO or the designated color/pattern of the month. I’ve also included additional choices like a project with a designated fabric designer, scraps or a flimsy waiting to be quilted which is my preferred choice. 
Lotta Jansdotter was my August designer and although my plan was to quilt my Mori Girls flimsy, I was distracted by my Studio Squirrels who were chanting “Ya Gotta Lotta” inside my head so the Lucky Jerry was a start and finish way before mid August. After that, I did finally quilt Mori Girls and then proceeded to make four more flimsies, two of which from the still not depleted Lotta Jansdotter stash. 

Here are details of these two quilts:
The Lotta Love Bundle Buster quilt is a modified version of Quilting Jet Girl’s Bundle Buster pattern (not an affiliate link but one of my favorite patterns for strips).

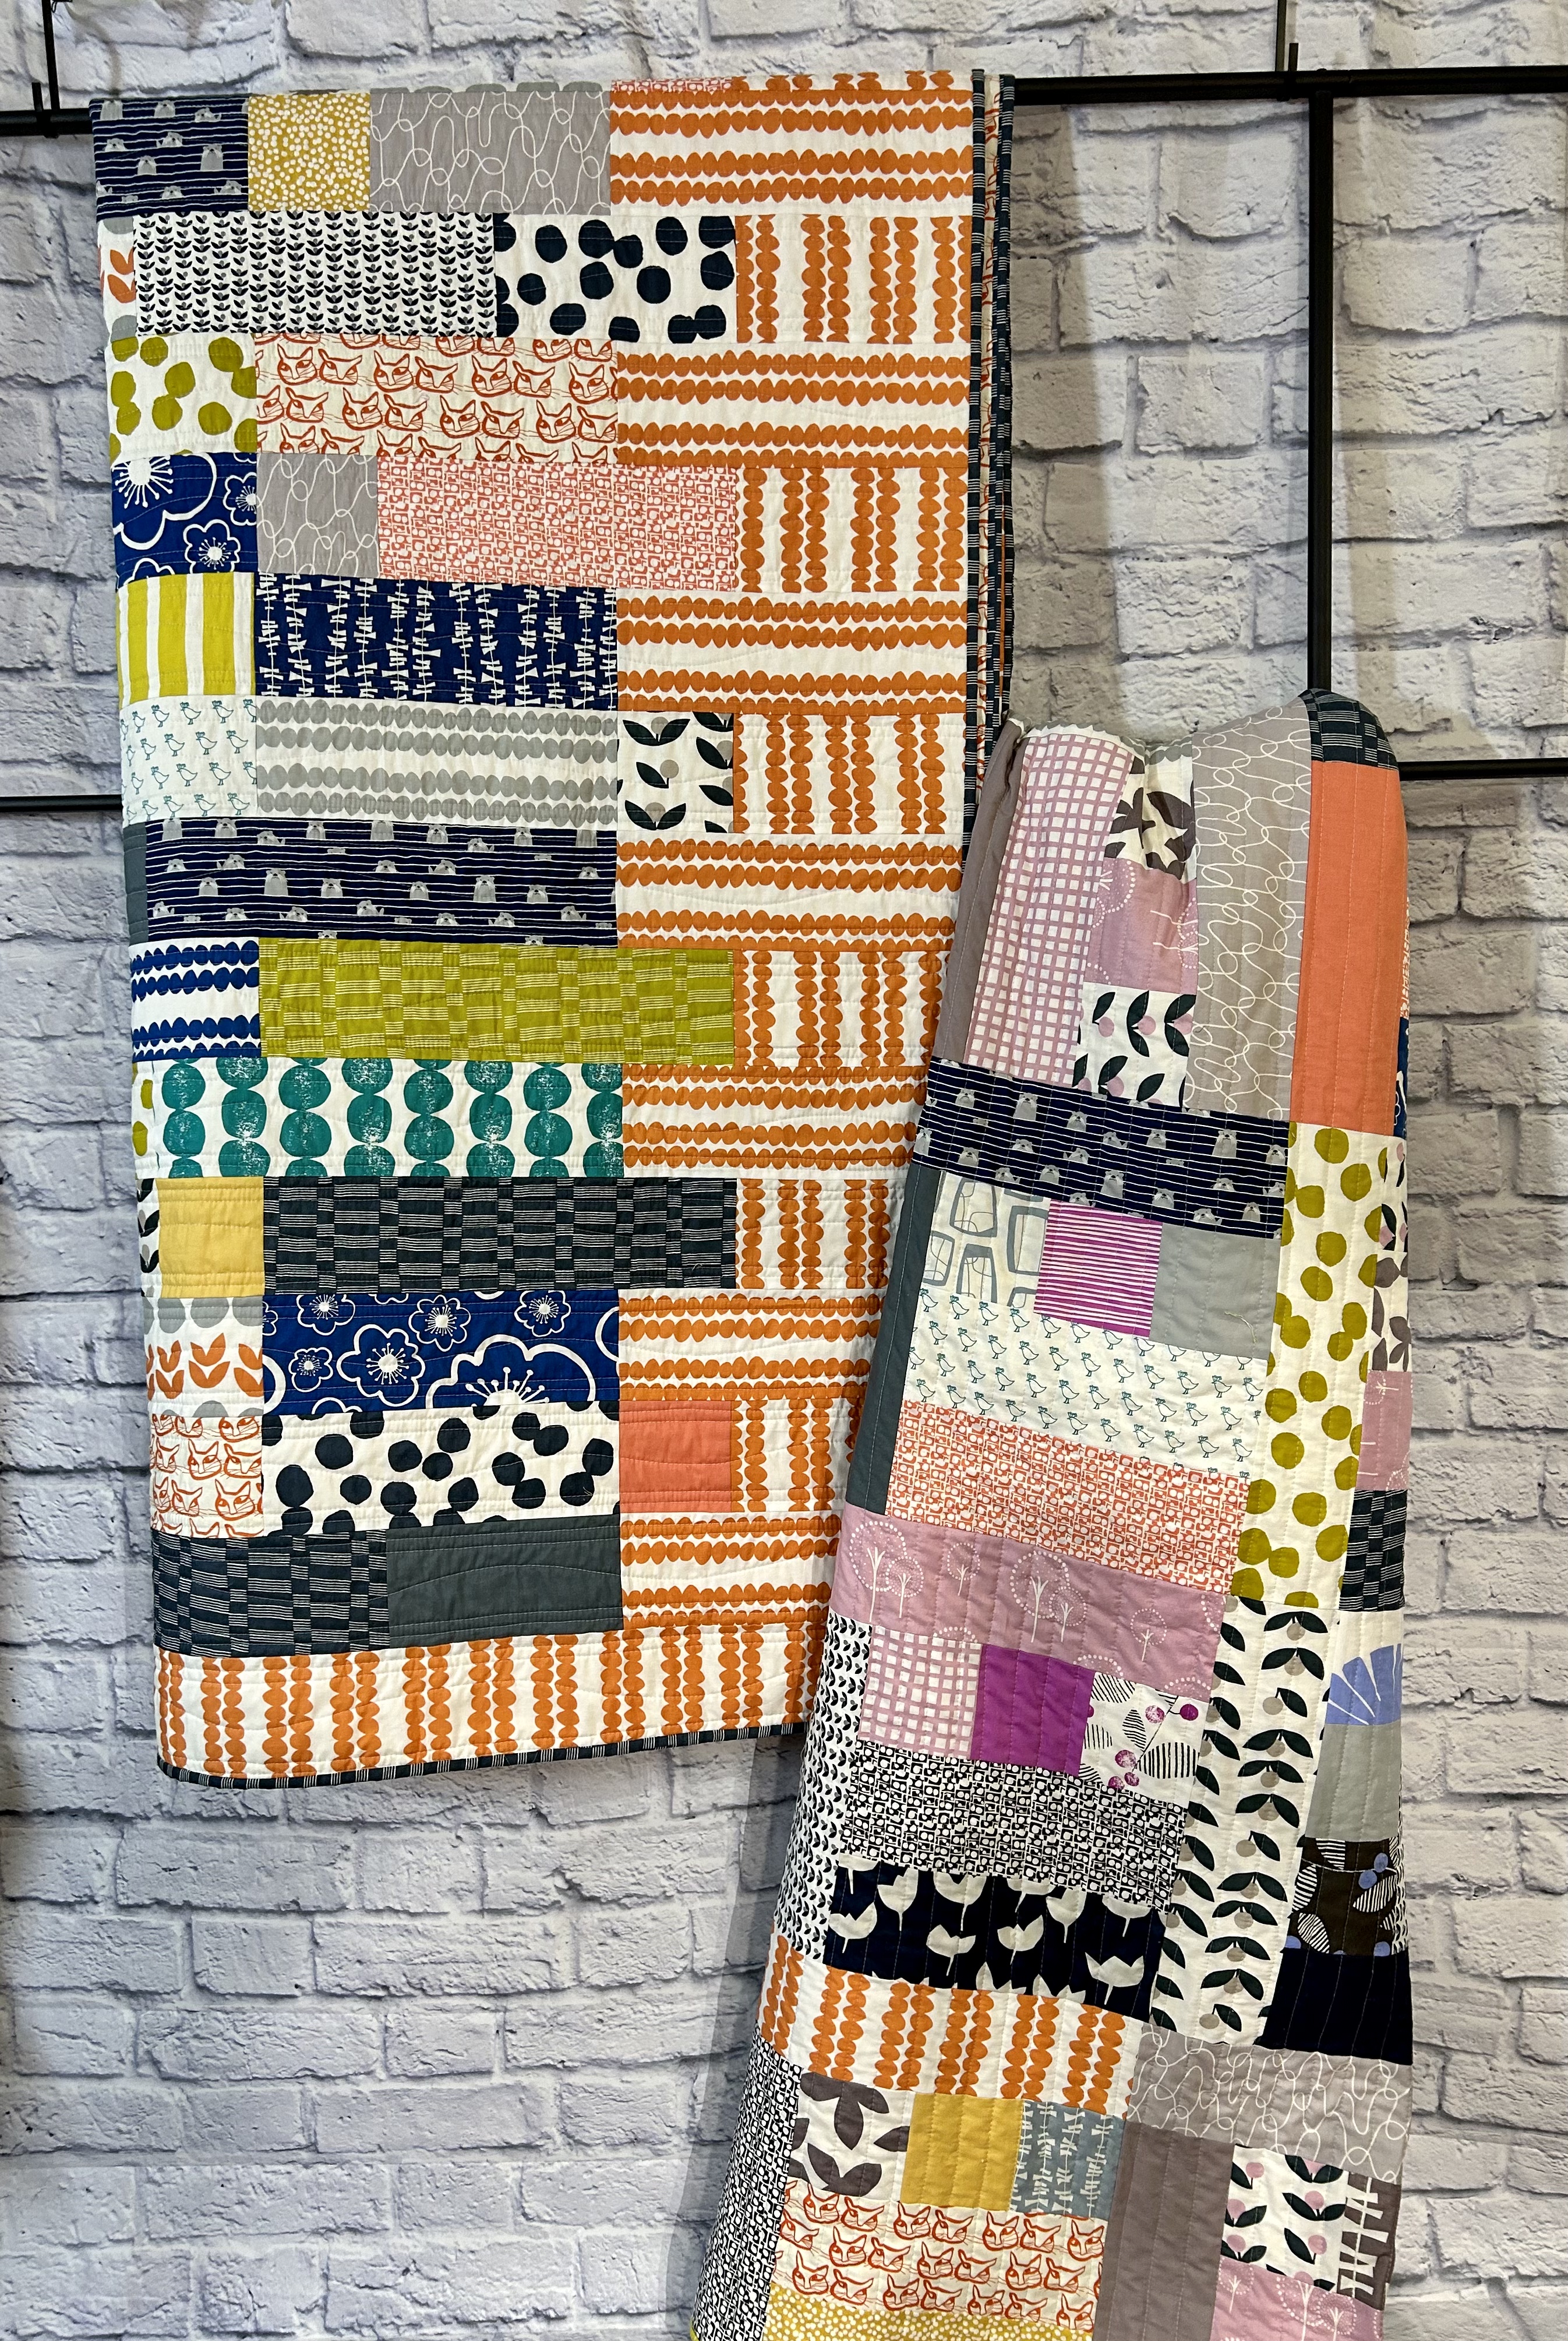
When the Lucky Jerry Lotta Quilt was being planned and the decision made to eliminate the orange, blue, purple, fuchsia, pinks and lilac fabrics, I still wanted to make a quilt with these fabrics and the Bundle Buster pattern was perfect. This is the fifth time I have made a quilt with this pattern and it’s really easy to modify the size of the strips and blocks.
Here’s a pic of some of the blocks in the quilt and you can see the different colors playing well with each other.
Lotta Love is the third quilt I quilted with Jinny Janome and unfortunately I had some problems with what I call dragging but was soon remedied. Since I wanted to quilt straight vertical lines 1” apart, I used a quilt guide on the walking foot which put some pressure on the quilt sandwich and I should have set my pressure at zero instead of 1.5 which is my usual setting. Lesson learned for the future. I used Aurifil thread in Silver.
The backing was the blue bead stripe which I had in my stash for way over five years and the binding was my favorite stripe in Citronickle. Lotta Love Bundle Buster measures 64” x 80”.
Orangentina, so named way before Argentina won the Soccer World Cup, but I will admit singing the Evita song while this quilt was being made. Since I still had some squares and strips left over from Lotta Love,I decided to make a quilt like my previous Slinky quilts. I used the orange bead stripe as the setting strips on the side but alternated the direction to give it more interest and I like the look. I finished the flimsy before the Lotta Love flimsy which was my reason for quilting it first.
Here’s a close-up  of the quilting; I quilted wavey and straight lines with Aurifil thread in silver with no problems. I have to mention that there is a print that is not Lotta Jansdotter and its the blue stripe print with the gray Seals. I thought it went well especially since I thought the Cat print needed company.
And speaking of the Cat print, I was very proud of myself for using it as part of the backing. Good Quilt Friend, Carol, gifted me with three yards of this fabric, even after I threw her under the bus with Mary Etherington who started the Ernie quilts which were named after her orange Farm Tiger/Cat. Carol has an unique gift of interpreting quilt patterns and I happened to point it out to Mary. When I was given the fabric, I did plan on using it for a backing and may have been a little hesitant at first but decided it went well with the orange stripe. Do you see that organic shadow on the left photo? I hope it’s not bad woo-woo from Carol because I could not figure out what was causing this shadow to appear. The binding is the other navy stripe in the Lotta Jansdotter collection. Orangentina measures 60”x84”.
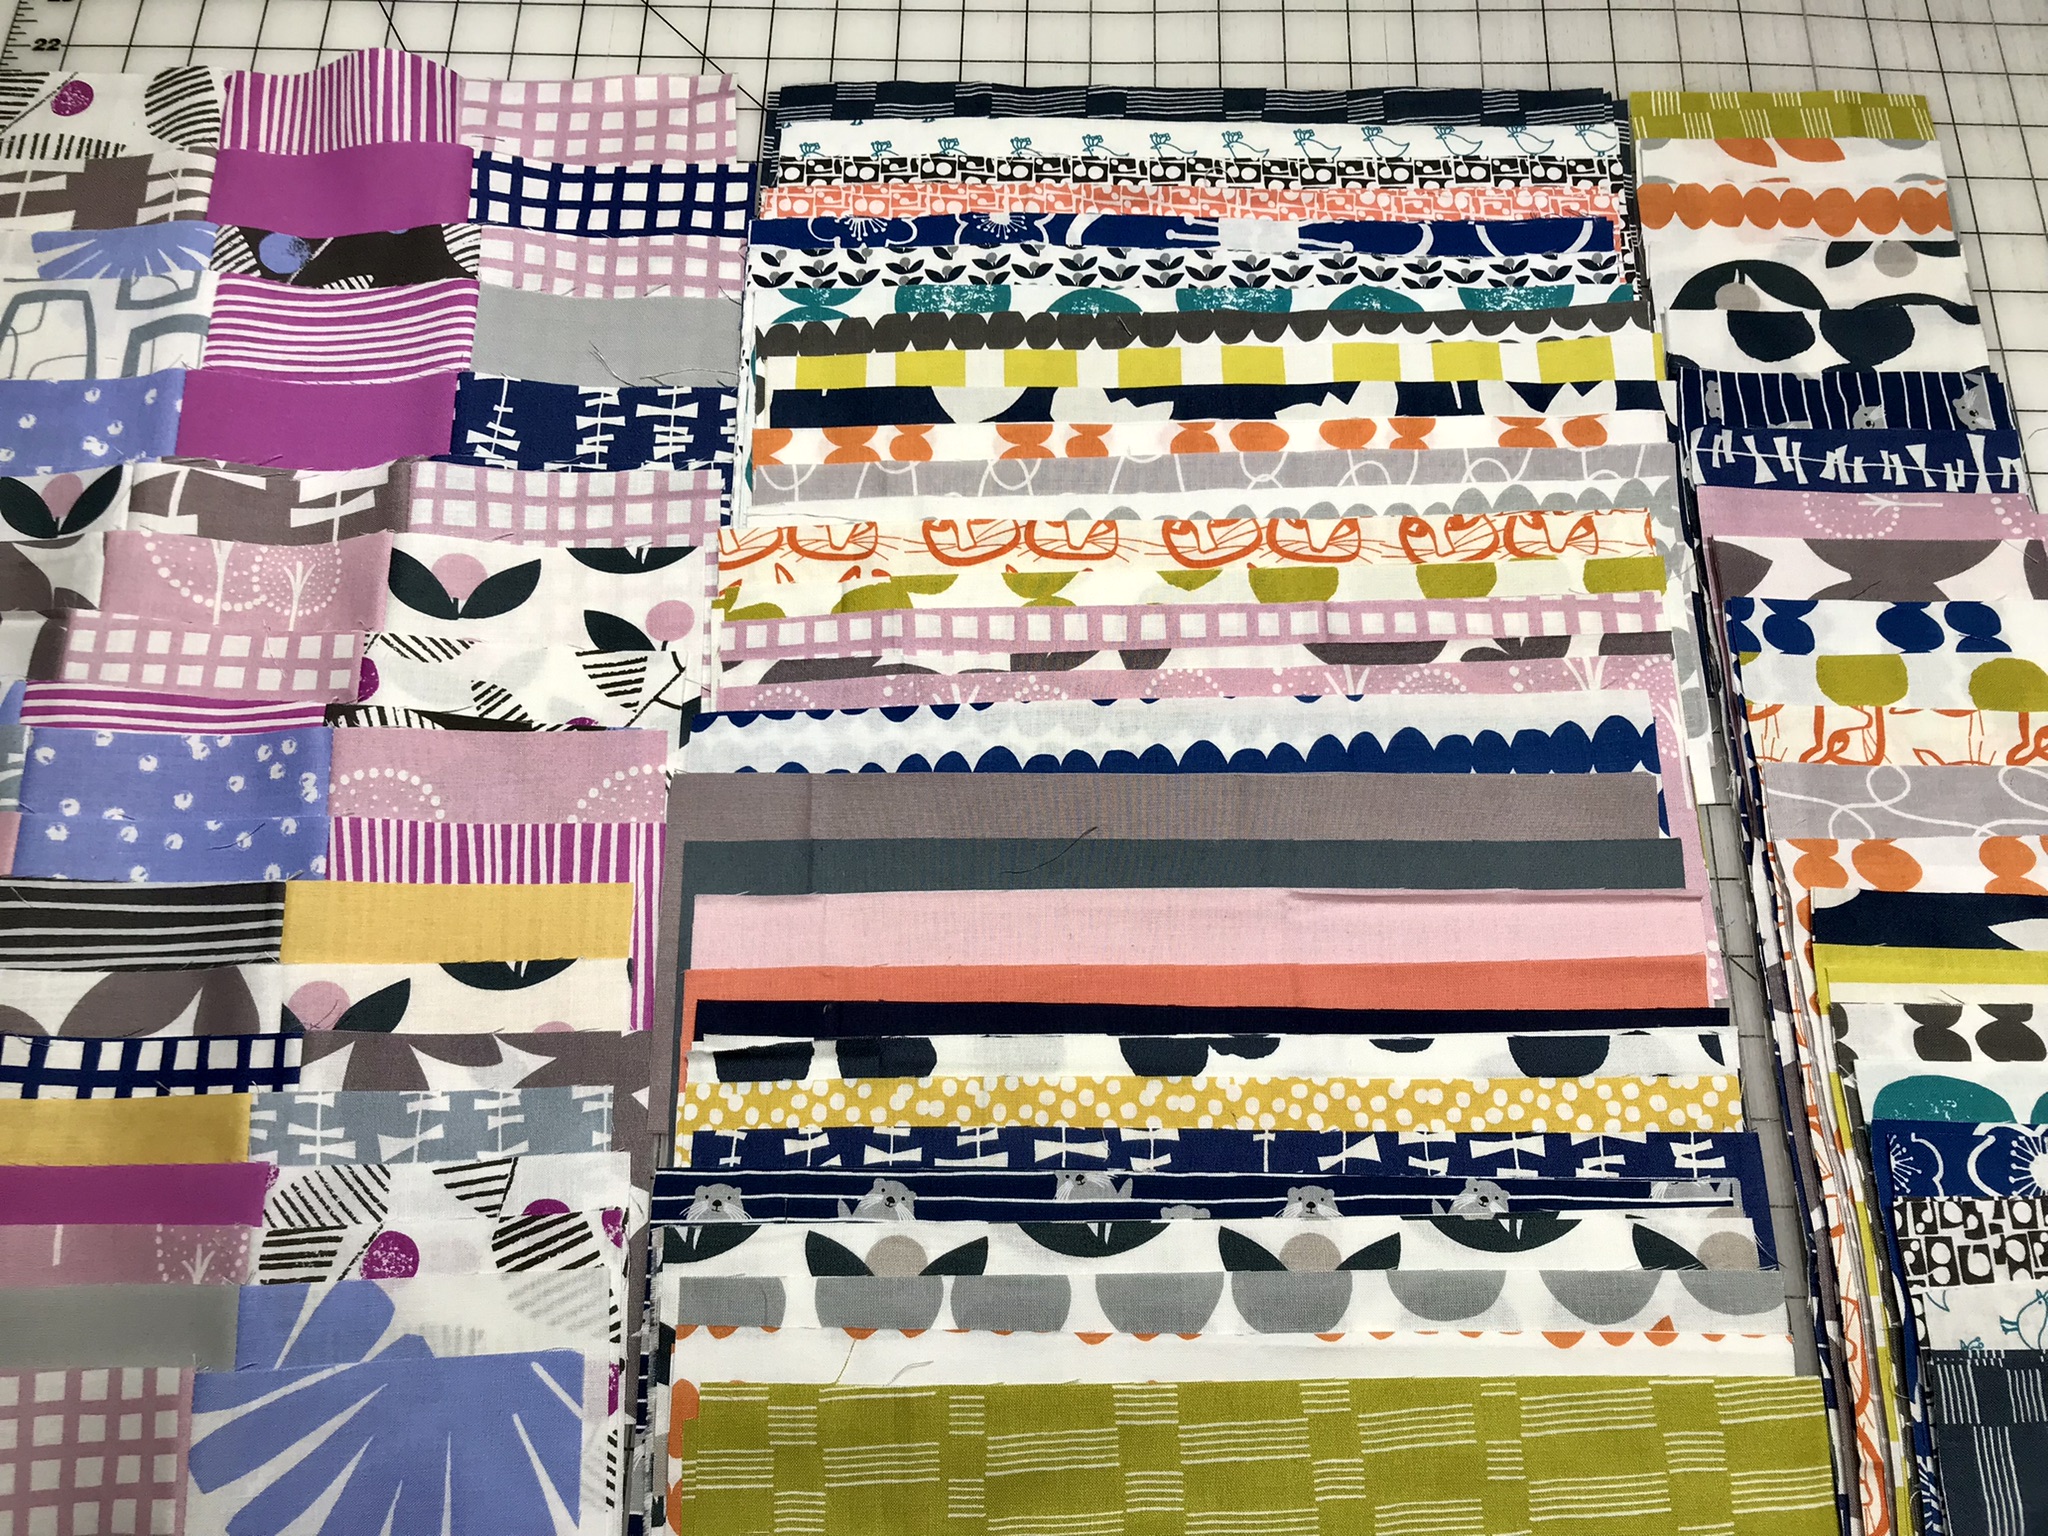
Here’s a photo of the three quilts together, the Lotsa Lotta Lovelies. These quilts have me thinking of Summer especially with the cold, wet weather we’re having today which is why all the photos were taken indoors. I can see these three quilts laying on porch cots during the Summer but in reality these will be my Summer quilts for the living room. I have to say it’s hard for me to pick which one is my favorite and also that I still have lotsa Lotta fabric left, especially scraps. It was hard to finally put these fabrics away but I really want to work on some new projects.

Linking up with: My Quilt Infatuation/NTT

Tuesday, June 1, 2021

Zingy Zinky is a Finally Finished

It’s a great way to start off a new month with a Finally Finish although I was hoping that my Zingy Zinky would have been finished yesterday for an end of the month finish but had a quilting snafu which I will mention later in this post.
Zingy Zinky was one of the flimsies finished last year and I wrote about it briefly in my Flimsy Frenzy February post which I had at that time named it Zingy Zebra. I decided to rename it Zingy Zinky since this is a version of the SlinkyPinky and Blinky Bill Blankie quilts and I had to keep the “inky” as a reference to this series of quilts made up of rectangle strips and squares.
Like the previous quilts in the “inky” series, the strips and squares were cut 4-1/2” from mostly Art Gallery prints in shades of pinks, teals, golds/oranges, black&white and low volume prints.  There are almost forty different prints used in the squares. Instead of using one print for the setting strips, I alternated two prints, an Art Gallery multi-color stripe with a Cotton+Steel Netorious in black which is the reason why Zebra was in the original name for this quilt.
Zingy Zinky measures 56”x76”. The backing is an Alexander Henry print from 2011 which I bought last year from Hobby Lobby and been sitting in the backing vault to be paired with the right top— I think it’s perfect for Zingy Zinky, or should I say the ZZ Top. I used the black Netorious print for the binding.
As mentioned in the beginning of this post about my quilting mishap which I have now filed as “what not to do ever again for machine quilting” is never changed your presser foot setting in the middle of quilting unless you want big time puckering nor does 50 wt. Auril in black give quilting stitches enough definition—I should have used the 40 wt.  I had to rip out 15 rows of quilting just for the presser foot setting mishap and decided to keep using the black Aurifil thread because it would have involved ripping out another 25 rows.
You always have to include a photo of your quilt blowing in the wind.
One last photo before I end this post—Zingy Zinky hanging on the garage door since the Master Quilter was unavailable since he was busy planting his vegetable garden. I just love this pattern, it’s simple and a great way to use up scraps, charm packs or a favorite fabric collection.  I already have another one planned but will have to wait since I don’t want to start any new quilts until I finally finish a few more of the eleven flimsies left over from 2020. Plus, my quilt for the Follow Your Own Path QAL need to be ready for the June 15th Celebration of a Famous Canadian’s Birthday.  This month already seems to be going by fast.

Tuesday, February 19, 2019

Another February Finally Finish: Pinky

I started the Pinky quilt during the first week of January which is a good time of year to make a quilt with bright, happy colors to celebrate the new year and to help me forget the cold, dreary weather outside. Also, another reason for making this quilt was the commitment I made this year to finally use my stash of Tula Pink fabric which I've been collecting for several years now and I was, in my mind, at risk of being issued a citation by the Tula Pink enforcers for fabric abandonment.  As soon as I finished the top, I had to set it aside for other projects and finally was able to finish this quilt this past Saturday. I thought I should explain why I named this quilt Pinky which is no disrespect to Tula Pink's name, since I don't like being called "Rosie". I first was going to name it Totally Tula, but realized  since this quilt is a variation of the Slinky quilt I finished last year, Pinky seemed fit better.

  
This quilt measures approximately 56"x76".  The squares were cut 4-1/2" and the solid Mint strips were cut 4-1/2" wide and the lengths were cut in 4-1/2", 8-1/2", 12-1/2" and 16-1/2" increments.  I used my two Chipper charms packs and trimmed them to 4-1/2" which is a good thing I did since none of the squares were a consistent 5" square as they should be. After my squares were trimmed and additional 4-1/2" squares were cut from my stash, I put them in an order so that it was easy to put them up on my display board. After the first four rows were up, I could see that Pinky lacked any spark or energy.  I didn't take a photo so you will have to take my word that the quilt was going to be lifeless but then it's a good thing since there's no proof of this attempted misuse of beautiful fabric and I could have been banned from ever using Tula Pink fabrics again by the you know who enforcers.
I don't understand why my initial batch of squares did not include the Queen Elizabeth head print nor the orange Tabby Cat print nor the bright green silouhette print. I also added some squares from more current fabric lines like Spirit Animal.  Truth be told, I don't like fussy cutting but really should have for these prints. After these much needed squares were added to the mix, this quilt finally had some spark.
I think it also helped, that unlike the Slinky quilt, the Pinky rows were offset unevenly on each  side which, pardon the mention of the fabric line, added to the "Free Spirit" feel and look.  Even though I had to refigure my layout, I think it was worth it.  Because the rows were offset, I did not add the top and bottom borders since I thought it would look funny.  The solid Mint fabric was the perfect complement to the many prints used and was included in a Tulip Pink kit which I purchased from Craftsy many years ago. Yes, I'm guilty of buying kits just for the fabric and no intentions of using the pattern especially when it goes on sale.
Here are some close-ups of the squares and the wonky loops I quilted with the perfect Essential thread I had in Mint.
Since I started a new fabric fast this year, I had to break it when we were in Texas last month where I found this Art Gallery print on sale for 50% off; I knew it would be perfect for Pinky. The fabric I already had, which was just okay, will be returned to the backing vault to wait for another quilt. I did use a Tula Pink fabric for the binding.
More often than not, whenever I have a finally finish, you can bet the weather is not going to co-operate for taking outside photos.  I should let the local weather reporters know that I could help them with their weather predictions by telling them if I have a finally finish quilt I want to photograph. I was ready to post with just inside photos of the quilt, which most of them are, but thankfully, Monday's weather allowed me to take a photo of Pinky on the front porch. Posting just doesn't look right if an outside photo of my quilt is not included.
Here's a photo of the layout for the Pinky Quilt, the top layout is based on 5" cut squares and would measure 60"x76" and the bottom one would be for 4-1//2" cut squares which is the one I used.  The numbers at the end of each row is the finished size for the setting strips and the numbers in the middle refers to the number of squares needed. I know I'm going to make more of these, especially with all of the charm packs I have in my stash and, of course, my partners in quiltmaking, my die-cutters.  To add to the "Inky" theme of these quilts which I seem to have started, if I make them crib size, they're going to be named "Binky".  I really don't think there won't be a "Kinky" or "Stinky" version though.

The only good thing about this cold weather we're having for the past weeks is that it makes for some good sewing time.  My SewJo has returned and yesterday's yarn yearning has been tempered down a bit. I sure can't wait for Spring and sunshine or as I sometimes refer to as good photo-taking weather.  The Master Quilt Holder doesn't like standing out in the cold, especially this Winter.

Linking up with:  My Quilt Infatuation NTT

Monday, October 1, 2018

Slinky To The Finally Finish Line

Last month when I finished the Slinky top, I had mentioned that I needed to quilt it as soon as possible because Fall was in the air despite being in a heat wave at that time.  And wouldn't you know it, after finally having some cool temps for a few hours this week, a voice living outside my head said: "Are you ever going to finish my quilt?".  Yes, the screaming squirrel has morphed into my 6'4" son and the quilt was now needed at the fire station. It's not that I wasn't working on it, just thinking about it for the past month.  I still had to purchase the Star War fabric for the backing and I was tempted to not quilt it myself since this was going to be the largest quilt I ever machine quilted so I needed to ruminate for the challenges.  Slinky was finally finished yesterday and wouldn't you know it, we're going to be having cloudy weather for the next few days so my photos are going to be on the dismal side.  Master Quilt Holder is happy that this quilt needed to be hung off the screen room room since it was too long for him to hold up.
The fabrics I chose were Amy Ellis' Chic Neutral, which I had in my stash, a charm pack and yardage were left over after using it as a test quilt for the Jelly Roll Charm Chase Quilt last year and also yardage of Marcus Brothers Aged Muslin in gray.  Since I had to design Slinky around the charm pack, the quilt is made up of 4.5" squares and strips in varying widths as you can see in my sketch.
I wanted a modern look rather than a traditional one patch layout and was inspired by some of the quilts I've seen made by Kelly Young of My Quilt Infatuation and others on Pinterest.  I opted for the gray strips to be equal on both sides rather than offset since I thought it would have looked crooked laying on the bed. The sizes of the gray strips depended on what I could have cut from my June Tailor Shape Cut ruler since I wanted them to be exactly the same size and my cuts are never accurate when it involves cutting them either with a ruler or the measurements on the cutting mat.  I've learned from making my Regatta quilt  that it's easier for me to precut my strips to size before sewing and not to cut them to size after the top is sewn. After the top was sewn, the end of my rows were exact and, if I can remember, there was no trimming at all.
For such an easy pattern, there was a challenge with Slinky when I was sewing the top. Once the squares and strips were laid out on my design board, the squares were numbered and the rows separated by a fabric scrap in between, this should have been an easy sew but it was not since I wasn't paying close enough attention to the numbers and sometimes inadvertently flipped some of the squares the wrong way up while sewing them together.  Sir Seam Ripper was called to action way too often to take apart some rows which I knew were wrong when two squares of the same fabrics happened to be in the same spot and didn't noticed it until after it was sewn together.  Lesson learned--take a photo of your layout before sewing for reference, which I did several times before the seam ripping began.
Once the top was sewn I was ready to take a break from Slinky because I had other projects like my Echinacea Quilt which I mistakenly thought needed to be finished for the 2018 Quilt Bloggers Festival and there were other new DrEAMi projects which distracted me from the inevitable piecing of the Star Wars backing.  Normally, I'm not particular about matching seam lines which is why I choose busy prints for the backing, but the Star Wars print needed to match.  I thought I did a pretty good job by getting Princess Leia's shoulders to match but after the backing was sewn, I realized the match point should have been Darth Vader and Luke Skywalker with their lightsabers.  Oh well, not too noticeable, right?  And this should prevent Demando from using the backing for the top which someone (specifically his sister-in-law) does.  Sometimes piecing is not appreciated when the backing is really cute or cool.  My only disappointment with the Star Wars fabric is that Yoda does not appear on it and would have been sweet since Demando used to call my late mother, his grandmother, Yoda.  BTW, when my sweet granddaughter is going to call me Moda when she's able, which is way more nicer sounding than "Da" which sounds like dog.
Slinky measures 68"x 90" after quilting which is not as long as I would have liked; I am still amazed that the quilting could shrink a quilt as much as 2". The machine quilting went very nicely, despite the size and the wrestling involved--just straight lines along the seams and slinky, wavey lines in between using a gray thread on top and silver on the bottom.  Surprisingly and very welcomed was the lack of distortion on the sides--I think the tight weave of the Aged Muslin prevented that which is also why I used a Chrome Microtex needle. I'm glad I decided at the last moment to machine bind Slinky with the gray aged muslin rather than with one of the prints used in the quilt. I had planned to use wool batting since Demando wanted the quilt to be warm so I purchased Pellon's wool batting, in Queen size, since I've already used their cotton batting for many of my quilts and never had any problems with it.  Once the wool batting was placed over the backing, I happened to look at the care instructions and much to my surprise and disappointment I saw that this it could NOT be put in the dryer which I did not notice when looking for wool batting online.  Why would or could anyone hang dry a bed quilt after washing especially in the Winter.  I can't even get a clothes line in my backyard let alone inside my house.  So the wool batting was replaced with the Pellon cotton batting in white, thankfully I just purchased a bolt of it recently and mentioned to my hubby that Demando probably wouldn't notice the difference.  I was wrong.  The first thing he said after touching the quilt was why didn't I use wool batting. I asked him how he knew and his response was Slinky felt like all of the other quilts in the house. Really, I now have Quilt Detective Demando living in our house. When I explained to him that the quilt would have to have been hang dry which is hard when the weather is cold, Demando's response was didn't I know that quilts were supposed to be washed in the Springtime so they could be hung outside. Demando knows way too much about quilting for someone who's never made a quilt.  
All in all, I'm happy that Slinky is a Finally Finish and I really like this pattern which I think will be using it again--it's great for squares which I have with the many charm packs I have and can easily be die cut from my stash. Demando is happy, he better be, despite not having a long, super warm quilt to sleep under while he's at the fire station.  My thought, he shouldn't get too comfortable, after all he's on duty.  Maybe, I'll make him a new quilt with the wool batting for his bedroom at home so he can wash it and hang dry it outside himself if and when I ever get my clothesline.  A Mother's love only goes so far now that my granddaughter is around.