Showing posts sorted by relevance for query Pinky. Sort by date Show all posts

Tuesday, February 19, 2019

Another February Finally Finish: Pinky

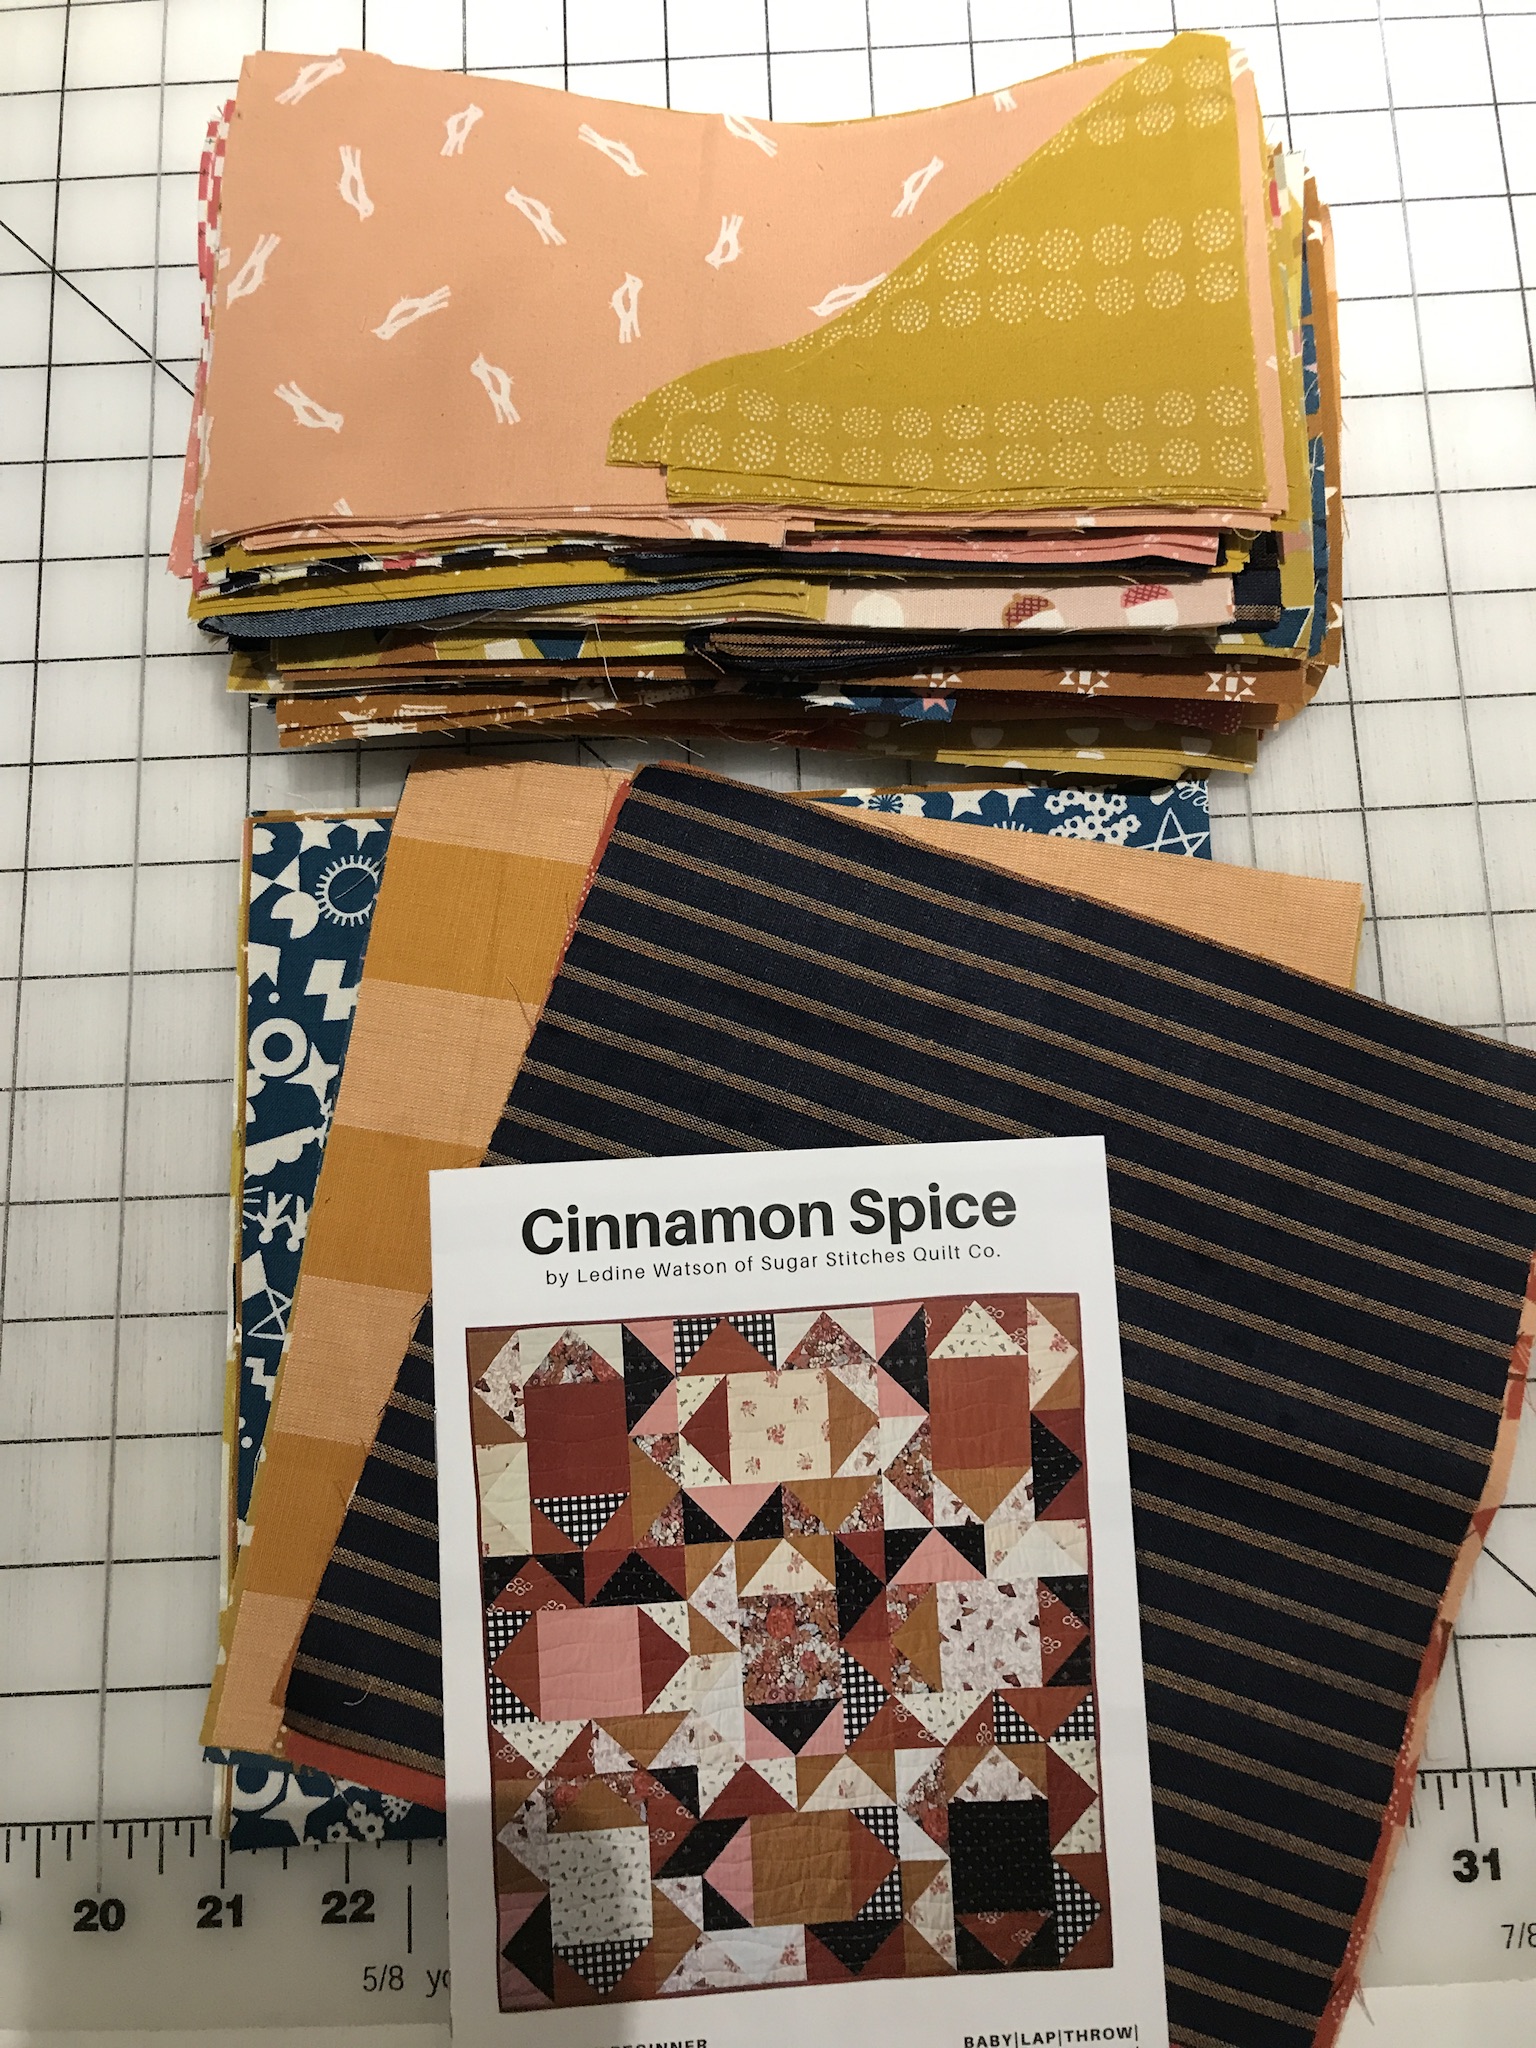
I started the Pinky quilt during the first week of January which is a good time of year to make a quilt with bright, happy colors to celebrate the new year and to help me forget the cold, dreary weather outside. Also, another reason for making this quilt was the commitment I made this year to finally use my stash of Tula Pink fabric which I've been collecting for several years now and I was, in my mind, at risk of being issued a citation by the Tula Pink enforcers for fabric abandonment.  As soon as I finished the top, I had to set it aside for other projects and finally was able to finish this quilt this past Saturday. I thought I should explain why I named this quilt Pinky which is no disrespect to Tula Pink's name, since I don't like being called "Rosie". I first was going to name it Totally Tula, but realized  since this quilt is a variation of the Slinky quilt I finished last year, Pinky seemed fit better.

  
This quilt measures approximately 56"x76".  The squares were cut 4-1/2" and the solid Mint strips were cut 4-1/2" wide and the lengths were cut in 4-1/2", 8-1/2", 12-1/2" and 16-1/2" increments.  I used my two Chipper charms packs and trimmed them to 4-1/2" which is a good thing I did since none of the squares were a consistent 5" square as they should be. After my squares were trimmed and additional 4-1/2" squares were cut from my stash, I put them in an order so that it was easy to put them up on my display board. After the first four rows were up, I could see that Pinky lacked any spark or energy.  I didn't take a photo so you will have to take my word that the quilt was going to be lifeless but then it's a good thing since there's no proof of this attempted misuse of beautiful fabric and I could have been banned from ever using Tula Pink fabrics again by the you know who enforcers.
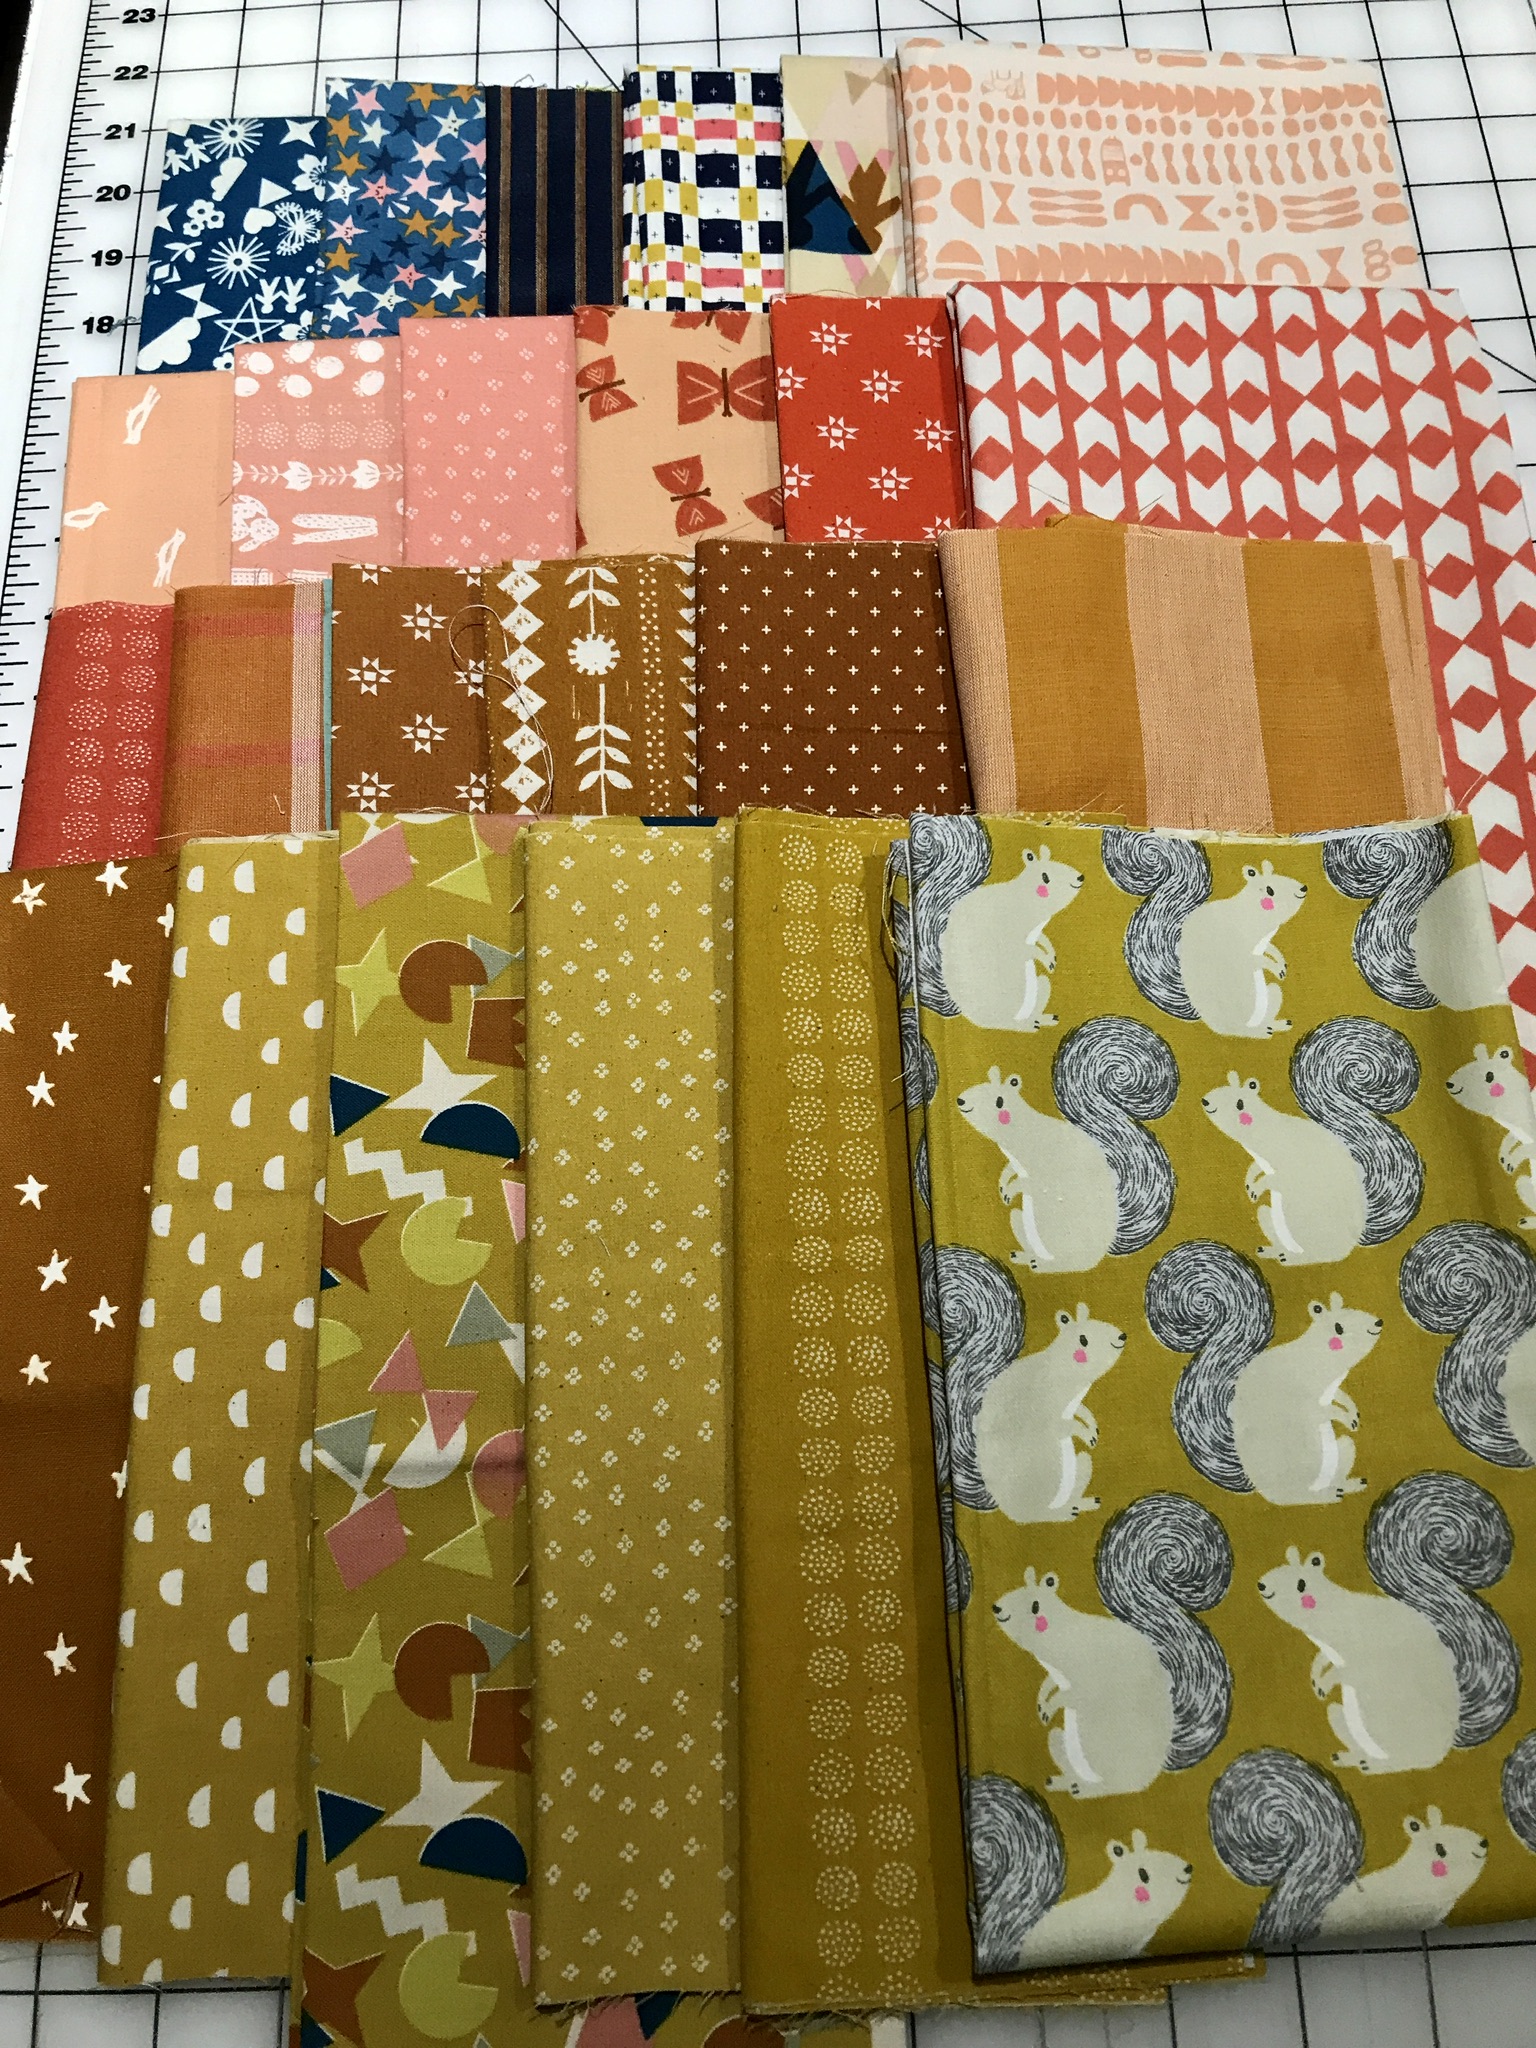
I don't understand why my initial batch of squares did not include the Queen Elizabeth head print nor the orange Tabby Cat print nor the bright green silouhette print. I also added some squares from more current fabric lines like Spirit Animal.  Truth be told, I don't like fussy cutting but really should have for these prints. After these much needed squares were added to the mix, this quilt finally had some spark.
I think it also helped, that unlike the Slinky quilt, the Pinky rows were offset unevenly on each  side which, pardon the mention of the fabric line, added to the "Free Spirit" feel and look.  Even though I had to refigure my layout, I think it was worth it.  Because the rows were offset, I did not add the top and bottom borders since I thought it would look funny.  The solid Mint fabric was the perfect complement to the many prints used and was included in a Tulip Pink kit which I purchased from Craftsy many years ago. Yes, I'm guilty of buying kits just for the fabric and no intentions of using the pattern especially when it goes on sale.
Here are some close-ups of the squares and the wonky loops I quilted with the perfect Essential thread I had in Mint.
Since I started a new fabric fast this year, I had to break it when we were in Texas last month where I found this Art Gallery print on sale for 50% off; I knew it would be perfect for Pinky. The fabric I already had, which was just okay, will be returned to the backing vault to wait for another quilt. I did use a Tula Pink fabric for the binding.
More often than not, whenever I have a finally finish, you can bet the weather is not going to co-operate for taking outside photos.  I should let the local weather reporters know that I could help them with their weather predictions by telling them if I have a finally finish quilt I want to photograph. I was ready to post with just inside photos of the quilt, which most of them are, but thankfully, Monday's weather allowed me to take a photo of Pinky on the front porch. Posting just doesn't look right if an outside photo of my quilt is not included.
Here's a photo of the layout for the Pinky Quilt, the top layout is based on 5" cut squares and would measure 60"x76" and the bottom one would be for 4-1//2" cut squares which is the one I used.  The numbers at the end of each row is the finished size for the setting strips and the numbers in the middle refers to the number of squares needed. I know I'm going to make more of these, especially with all of the charm packs I have in my stash and, of course, my partners in quiltmaking, my die-cutters.  To add to the "Inky" theme of these quilts which I seem to have started, if I make them crib size, they're going to be named "Binky".  I really don't think there won't be a "Kinky" or "Stinky" version though.

The only good thing about this cold weather we're having for the past weeks is that it makes for some good sewing time.  My SewJo has returned and yesterday's yarn yearning has been tempered down a bit. I sure can't wait for Spring and sunshine or as I sometimes refer to as good photo-taking weather.  The Master Quilt Holder doesn't like standing out in the cold, especially this Winter.

Linking up with:  My Quilt Infatuation NTT

Saturday, February 23, 2019

February DrEAMi: Specks, Strips and Squares, Oh My Quilt

This quilt was an unexpected finally finish for February, or as it is properly called by Sandra of MMM quilts, a DrEAMi!. It wasn't even in my plans to make which means a Squirrel was involved. Screamer, the Squirrel, was sent to me by my down-under Quilt torMENTOR, Susan of PatchworknPlay who is one of the major reason why I started blogging with her just saying "you should start a blog-it's easy" or something to that effect.  She has a way of making me do things especially with the beautiful quilts she has made with her fabulous fabric and color combinations.  I first started following Susan when she was posting a Jen Kingwell pattern she was then making called "My Small World" and I then became aware of Jen's many wonderful, but complicated patterns.  I should have then realize that Jen and Susan seem to go hand to hand. I finished my Gypsy Wife quilt several years ago and it still makes me go cross eye when I think about the making of this quilt and, in typical fashion, as I have done with other challenging quilts, I took the easy way out and eliminated the setting strips and set the blocks sampler style.  My thought was that after all the hard work making all of these blocks, I wasn't going to do a jelly roll race at the end--this coming from me who loves to make easy quilts with strips, especially 2.5" strips.  To further solidify my feelings of any Kingwell patterns are a test of quilt fortitude, I did finish Smitten. So getting back to Susan's involvement with the making of the Specks, Strips and Squares (S3) quilt. Now remember she has a way with her words, being a teacher and all, after I had posted about finishing my Classic Meet Modern BOM quilt this past January and mentioning that it was challenging and refreshing to make something a little bit harder, she left a comment "I hope the success of it encourages you to try more difficult designs and blocks! Perhaps Delilah (a Jen Kingwell pattern) could be your next one??"  Disclaimer:  I did warn Susan about this post earlier and that I was going to throw her under the bus so hopefully I didn't break any sanctity of comments and deter anyone else from ever leaving me comments.  Well, after reading the mere mention of Jen Kingwell's name, I went into mind numb mode with a screaming "No" and my eyes started crossing, my usual reaction which is what I call Fear of Jen Kingwell patterns. Some time later, I retreated to my sewing studio with Sue's comment fresh in my head; I'm lucky I didn't fall down the stairs thus wasting the time I've already done doing physical therapy for my healed fractured knee--don't you love my dramatics and guilt I'm throwing into this post?
While in this mindset of  my Fear of Jen Kingwell patterns and putting away fabric, I came across my stash of Jen Kingwell fabric and scraps.
The scraps came from these two quilts made from a Gardenvale Jelly Roll (right) and Lollies yardage and a Behind the Scenes Jelly Roll (left) and some yardage.  Even though I had other projects I wanted to work on, I thought maybe purging any thoughts of doing a Jen Kingwell pattern, I would use her fabric from my stash and challenge myself to make a quilt with what I had; taking the easy way out once again by doing something with just strips and squares.
Since I had a Gardenvale charm pack which I received in a giveaway, I considered using either my Jelly Roll Charm Chase or my Staggered Strips and Squares patterns, but the two packs of the Speck mini charms and not having much variety with the yardage I had to make long 2.5" strips, I came up with a pattern to spread out the dots, stripes and the multi-color check print in some kind of order. This quilt is made up of 4.5" squares from the charm pack and yardage, 2.5" x 8.5" rail strips from yardage and 2.5" x 6.5" rail strips from the Speck charm pack and yardage.  It measures approx. 54" x 72".
How do you like this backing?  Would you believe that I bought this from IKEA around 2010 and is not quite the Nummer fabric that I loved and has been discontinued. I thought I make my annual mention/plea that I wish IKEA would bring back their sheeting fabric, especially Nummer, which was perfect for quilt backing.  The home dec they now carry is just too heavy although the prints are fun.
Here's a close up shots of the quilting (my go-to wavy and straight line  with black Aurifil thread) and backing.  I showed it to my son, Demando, who promptly called the backing a Nightmare and questioned who would want that on the back of their quilt.  Obviously, someone like me who thought it was sort of representative of my fear of Jen Kingwell patterns and thought it would add a quirky touch to the S3 quilt. This backing does have it's limitation, I would never use it for a baby or child quilt so I had it for awhile until the perfect quilt top for it was made. I guess it also proves that I've haven't had to make a quilt for someone I don't like because that would be the perfect time to use it.  Let me say I was getting kind of spooked when I was quilting it during the wee late hours in my downstairs studio.  The only non-Jen Kingwell fabric in this quilt, besides the backing, is the black with white dots used in the binding.
I had to include a close-up of the screaming monster which I think my mind looks when someone mentions they're working on one of Jen's patterns. Doesn't it look like it's screaming a long, expressive "Noooo!" I'm glad I could finally let others in, which I may have already done, on my Fear of Jen Kingwell patterns in this post; it's all in good fun now. Knowing me, I wouldn't be surprised after this post, I'll probably do another since I do have her Glitter templates which have been sitting around for awhile. 
They say that good things come in threes or is it three times the charm. So after thinking about this, I have done three Kingwell patterns, Gypsy Wife, Smitten and Flutterby and I've now made three quilts with Jen Kingwell fabrics so I think I've earned an unofficial merit badge and I should be pretty good for awhile before I attempt another pattern. Leave it to my beloved Quilt torMENTOR Sue who left me a new comment, thus a new challenge, on my Pinky quilt about making another one called Blinky after an Australian book character named Blinky Bill.  I'm going to need some Koala fabric. BTW, I never responded to Sue for her Jen Kingwell comment so I hope she accepts this Post as my reply.  Also, do check out her Delilah quilt, it is absolutely stunning; it inspired some of my fabric and color choices for some of my quilts last year.  Send her some love but don't tell her who sent you.


Thursday, April 26, 2018

SPA Spurts:The Finally Finished Dot and Dash Quilt

This quilt just happened to get finally finished.  I started it in March while misbehaving when I was supposed to be working from my project lists and QALs so I guess you can say this would be considered a DREAMi project. But truly it's a beyond DREAMi project since I was originally distracted to make another Staggered Strips and Squares Quilt with shades of teals, pinks, grays, colors that was inspired by Patchwork N Play's Delilah Quilt and low-volume fabrics.  The strips were die-cut and ready to be sewn together but before I started, I happened to be putting away some fabrics and came upon the Spa Green Quilters Linen fabric which I had forgotten I bought a mere six months ago.
I knew I had to dump one DREAMi project to work on this new DREAMi project because I had the perfect pattern which has been in my head to use the Spa Green fabric with the 2.5" strips already cut--Dot and Dash from Christa Watson's latest book Piece and Quilt with Precuts book which I used to participate in her Squiggle QAL.  There are quite a few "I wanna make" patterns in her book and the Dot and Dash quilt was the one I really wanted to make since it uses 2.5" which is my favorite precut size and I can die cut strips myself.  All I needed to do was to die-cut the Spa Green fabric into 2.5" strips.
This quilt was seemingly done during spurts of time found in between other projects I had going on and the blocks were all sewn by the time we left for our getaway last week.  Even though I needed to catch up with the 30 Quilts Blocks in 30 Days QAL when I came home, I wanted a change of quilt pace which didn't involve Kaffe Fassett fabrics or a QAL (since the start of 2018, I've made four quilts with Fassett fabrics and have participated or am participating in four QALs.)  What started as a quilt being made during spurts of time found became a mad dash to the finally finished line.  The top was finished this past Sunday, the basting and quilting started on Monday and the quilting and binding was completed late Tuesday (after I had lunch and a nice shopping spree with my partner in quilt crime, Carol, at my favorite quilt shop where I bought the binding for this quilt and 28 fat quarters and yardage also wanted to come home with me too.)  This rarely happens, no, not my fabric binge buying which happens more often that I like to admit, but a quilt top made and then quilted and bound within the same week.  Usually once a top is made, it's on quilting standby for more than a week but maybe less than ten years, standard quilt making procedures for me.   So yay for me for doing the totally unexpected this week.
I decided to add a little pizzaz (for me) to the machine quilting by adding a meandering, wavy line in between the straight lines. Since the fabrics are somewhat on the calm and quiet side, like a Spa, I wanted the quilting to show up so I used Connecting Threads Essential Thread in Parchment.  Since the Quilters Linen was a more tightly woven fabric, I used a Microtex Sharp Needle and the quilting went smooth and fast. I do a lot of straight line quilting,  so I did quilt it using the same method Christa does in her book by starting the quilting on one side (instead of the center of the quilt) and quilting it to the other side. I can say I've done it this way on my last four quilts and the distortion at the ends of the rows is minimal unlike when I start the quilting in the center.
Here are some closeups showing the mash of fun prints which included Meows, Mushrooms and a Mermaid print.  I wish I included more peachy/pink prints (this quilt may look a little too calm) but when I do make the other quilt which I was intending to make before Spa Spurts, I will definitely be using more peachy/pinky, which is a nice accent color for the teals and grays.
I've been saving my precious yardage of SUCH Design's 108" wide backing of Newsprint in Spackle for just the right quilt which I already used some strips for the front so I was happy to finally use it and the binding is a wonderful dark blue/green print from the Cotton + Steel Basics Collection.
I was hoping to take a nice photo outside but the wind once again reminded us that it wanted to be included.  I thought for sure we left it back in Myrtle Beach. It sure was nice, though, to see the sun making an appearance during these past few days and I wouldn't mind if it still stuck around, just lose that wind.

Now that I've enjoyed this brief change of quilt pace, I'm ready to work on finishing up the 30 Quilt Blocks QAL and putting the quilt together so I can be ready for MMM Quilts Adult Plus Playtime  QAL which started this week. And I was planning on giving the Fassett Fabric Stash a rest but my son has requested a quilt made with Shot Cottons since he loves my Postcard from Sweden Quilt and I can't say No to him (most of the time) or another Kaffe Fassett project.

Linking up with:  My Quilt Infatuation, Needle and Thread Thursday Crazy Mom Quilts, Finish It Up FridayConfessions of a Fabric Addict, Can I Get a Whoop Whoop FridayBusy Hands Quilts, Finish or Not Friday

Wednesday, September 30, 2020

Sweet September SewJo

Despite making four trips to the Grandparent House and only spending fourteen days at home, I have five Finally Finished which makes this a very busy and productive month for me.  Apparently when only having a limited schedule for quilting, I can be pretty focused.  The first Finally Finished for September was my Shine Quilt which I posted on September 8th.  My next four quilts were for the Jelly Snowflake QAL, a Dreami, Country Threads Dirty Dozen QAL and a surprise finish; here are the photos with a brief description of each.

Emily, The Darling Dogwood, and I decided since we already did two of the same QALs this year without us knowing that neither one of us was sewing together, we would do a third one together and we decided upon Fat Quarter Shop’s Jelly Snowflake QAL.  You can see Emily’s beautiful interpretation Here.  I have mentioned in previous posts that I consider myself a QAL Escape Artist and Emily seem to have followed in my sew steps, in that, we did the first two blocks as per the pattern and then veered off with our own  finishes. The Jelly Snowflake pattern was beautiful and made great use of jelly roll strips but I wanted to showcase more of the fat quarters of the Stacey Hsu North Pole fabric which I received several years ago in one of the Fat Quarter Shop’s Christmas Sampler Box. That’s all I’m going to say about the Jelly Snowflake pattern and named my quilt Frosty Flake because of the snowmen on some of the prints and because it is my favorite breakfast cereal.  After the top was completed, I immediately knew how I wanted to quilt it with the straight-line diagonal quadrants with red thread.  Frosty Flakes measures 48” square and it’s going to be nice to have a new Christmas quilt to hang up this year.  BTW, I thought that instead of calling myself a QAL Escape Artist, I would give myself a new name or descriptor: Sewing Rose-gue, it seems to better explain how I quilt.


While searching for the red binding for my Frosty Flake Quilt in my red stash, I came across the Watermelon fabric with the matching large red gingham print and immediately knew I had to make something for the darling Granddaughter.  Since I’ve been spending so much time with her, I’ve become quite fond of the CoComelon videos which are fun and addicting to watch. Even when we’re not at the GP House, Hubby and I are humming and singing many of the tunes.  A simple patchwork blankie was made with some fun green prints from the stash and another red print.  I had the perfect shade of a coral pink Minky yardage in the stash and a quilt was made before the next GP visit.  This Blankie measures 40”x56”, which is a nice size for snuggling for one person but I would have made it bigger if I had more of the watermelon and red gingham print.
The month of September also meant a new UFO finish of our #11 for Country Thread’s Dirty Dozen which was my Flea Market Square. The top was made over seven years ago and it seems that during this time, I made a lot of square quilts and some of them I have committed to finishing for this QAL.  I didn’t keep any notes on the making of this quilt and I was able to ascertain that a charm pack of Moda’s Three Sisters Flea Market II was used along with some yardage.  At first I didn’t remember even what fabric line was used but was able to guess after looking at one of the charm squares which had a Paris map and was able to connect it to one of the Flea Market lines.  I was happy that I found the quilt top with the backing and binding safely tucked away together.  
I’ve mentioned in previous posts how I was inspired by Mary Etherington of Country Threads to do straight line quilting on traditional quilts so I thought since I was finishing this quilt as part of her QAL, it would look appropriate for Flea Market Square.  I quilted it with a very pale pink Mettler thread to keep the quilting  quiet and simple. I usually don’t back my quilts with fabric from the same line, partly because of cost and not wanting to waste it especially for a wall hanging, but I must have purchased the plaid when it was on sale because I had three yards of it.  I do love pairing plaids with florals.  Now that this quilt is a Finally Finished, I have a place to hang it on my bedroom wall since I’ve been meaning to replace the current artwork which has been hanging around for over twenty years.  Sad I won’t see the backing, but I’ll know it’s there.

Since I had a day left before the end of September when I wanted to post, I thought I would squeeze out one more Finally Finish with the Big Blinky Bill Blankie. I made the top earlier this year and is one of the flimsy made during my Flimsy Frenzy February.  The top was inspired by my Slinky and Pinky Quilts which is a simple pattern using squares and rectangles.  When I wrote the posts for these quilts, I mentioned I was inspired to make more and keeping the “inky” in the names.  Good Quilt Mentor Sue of PatchworknPlay offer up Blinky Bill which is an Australian Children Book Koala character.  Since I didn’t have any Koala fabrics I thought the next best thing would be to use my stash of Aboriginal prints which have been sitting far too long in the stash with solid squares of Shot Cotton, Peppered Cotton and Aged Muslin.  I thought this top could be a quick Finally Finished if I made a Patchwork Throw by only backing it with my favorite gray Chenille Plush.  It measures 52” x 82” which would make it a throw according to my rules, but since I love alliteration in my quilt names I’m calling it a blankie, thus the name Big Blinky Bill Blankie.  Since Hubby’s name is Bill, this will be his, especially since with the other patchwork throws I made with the plush for the backing, I’m always telling him how wonderful they are for snuggling and napping.  Now he will have his own to find out how true this is.
I still managed to find time to start others projects and keeping up with my 2020 Color Challenge blocks.  I’m calling this a month now and maybe rest for the remaining few hours left.  But no, I still have 1.5 days left before we leave for the GP House again and the studio here is still where I’m the most productive; probably because I don’t have a sweet distraction beckoning me to play with her.

Tuesday, June 1, 2021

Zingy Zinky is a Finally Finished

It’s a great way to start off a new month with a Finally Finish although I was hoping that my Zingy Zinky would have been finished yesterday for an end of the month finish but had a quilting snafu which I will mention later in this post.
Zingy Zinky was one of the flimsies finished last year and I wrote about it briefly in my Flimsy Frenzy February post which I had at that time named it Zingy Zebra. I decided to rename it Zingy Zinky since this is a version of the SlinkyPinky and Blinky Bill Blankie quilts and I had to keep the “inky” as a reference to this series of quilts made up of rectangle strips and squares.
Like the previous quilts in the “inky” series, the strips and squares were cut 4-1/2” from mostly Art Gallery prints in shades of pinks, teals, golds/oranges, black&white and low volume prints.  There are almost forty different prints used in the squares. Instead of using one print for the setting strips, I alternated two prints, an Art Gallery multi-color stripe with a Cotton+Steel Netorious in black which is the reason why Zebra was in the original name for this quilt.
Zingy Zinky measures 56”x76”. The backing is an Alexander Henry print from 2011 which I bought last year from Hobby Lobby and been sitting in the backing vault to be paired with the right top— I think it’s perfect for Zingy Zinky, or should I say the ZZ Top. I used the black Netorious print for the binding.
As mentioned in the beginning of this post about my quilting mishap which I have now filed as “what not to do ever again for machine quilting” is never changed your presser foot setting in the middle of quilting unless you want big time puckering nor does 50 wt. Auril in black give quilting stitches enough definition—I should have used the 40 wt.  I had to rip out 15 rows of quilting just for the presser foot setting mishap and decided to keep using the black Aurifil thread because it would have involved ripping out another 25 rows.
You always have to include a photo of your quilt blowing in the wind.
One last photo before I end this post—Zingy Zinky hanging on the garage door since the Master Quilter was unavailable since he was busy planting his vegetable garden. I just love this pattern, it’s simple and a great way to use up scraps, charm packs or a favorite fabric collection.  I already have another one planned but will have to wait since I don’t want to start any new quilts until I finally finish a few more of the eleven flimsies left over from 2020. Plus, my quilt for the Follow Your Own Path QAL need to be ready for the June 15th Celebration of a Famous Canadian’s Birthday.  This month already seems to be going by fast.

Thursday, April 21, 2022

Cracker Jack

I had plans to work on my April quilt for Country Threads Dirty Dozen UFO Challenge but decided I was in the mood to finally finish my Cracker Jack quilt instead. I thought the flimsy was done in December but it turned out it was finished the first week in February. I did though purchased the pattern Cinnamon Spice  designed  by Ledine Watson of Sugar Stitches Quilt Co. (not an affiliate link) last year. 
I loved this pattern when I first saw it on IG; it’s a great scrappy pattern made of squares and flying geese blocks which I could die-cut. What I especially liked about the Cinnamon Spice pattern is that it was quilted with horizontal wavy lines which is something I can do and that it was available as a paper pattern. At that time, I was having problems printing pdf files but would you believe that just recently, moi, the computer challenged, was able to set up the wi-if settings on my printer-game changer-it’s so nice to now print from my iPhone or iPad.
I chose to make the throw size quilt since I need a new wall hanging for the family room. I decided on a palette based on several of the multi-color prints, of blues, persimmon/peach/pinks, chestnut browns and golds and needed twenty-four fat quarter which I easily found in my Cotton+Steel/Ruby Star Society stash. 

If there is anything I would have done differently with my fabric choice is to have added more darker blues and used more fat quarters for variety.  I found having only twenty-eight different flying geese blocks was too limiting when you need six different ones for each block. I really had a hard time finding a layout which I liked since the same fabrics/colors were too close to each other to my liking but decided after the sixth layout that this is what the pattern was all about. And if you’re wondering why I named this quilt Cracker Jack,  it’s because these colors were yummy and gave me the taste for munchies like pretzels and cheese, caramel and cheese popcorn mix or Chex Mix. Surprisingly, I do not keep or bring any snacks to my basement studio. I thought Cracker Jack would be a good name since it is one of my favorite snacks “caramel coated popcorn, peanuts and a prize”and I was going “crackers” over the layout. Cheez Whiz was also a consideration.
I knew I wanted to machine quilt wavy lines like the pattern; Aurifil threads were used, gold on the top and navy on the bottom. The backing was pieced with two Cotton+Steel navy prints from the stash and the binding was the plaid Hatbox print which was also used in the top.  Cracker Jack measures 64” square and the Cinnamon Spice pattern can be made in two other sizes. I already have plans to make another one with Fall fabrics.
I thought I end this post with a photo of the Apprentice Quilt Holder, Demando, with his injured right hand which was not caused by holding up one of my quilts. He severed two tendons on his pinky finger while on the job which resulted in surgery. Yes, he is right-handed and, hopefully, he will be healed by May. Both he and the Master Quilt Holder with his sore knee are doing PT so I’ve been doing more schelping than usual. And now, I’m back to working on my April UFO, the flimsy is done and hopefully I can add the plush backing before we head to the GP House.

Linking up with My Quilt Infatuation/NTT and TGIFF hosted this week by Homesewn by Us.