Wednesday, June 15, 2022

Pop Star QAL Parade: Celebrating a Famous Canadian’s Birthday

I love a parade, especially a QAL parade and this one is the Sixth Annual Celebrating a Famous Canadian’s Birthday hosted by Sandra, MMMquilts. My project list for 2022 was very short: completing Country Threads 2021/22 Dirty Dozen UFO Challenge and participating in this annual QAL. I always have or make time for Sandra’s QAL pattern; they sew up fast and fun plus I always find the right fabrics in my stash. This year’s pattern Pop Star is no exception.

I always like to include a collage of the current and previous QAL quilts. You probably wouldn’t know from looking at these wonderful quilts that I don’t QAL well either by changing the construction a wee little bit or not following instructions and maybe sewed the flimsie before the QAL started.

My flimsie was finished by the start of the QAL because Sandra, under the pretense of asking me, the QAL Rebel, to pattern test and knowing I don’t like the slow pace which a QAL can sometimes be, sent me the pattern during the last week of March. Like her previous patterns, Pop Star sews up fast and the flimsie could be made in a day.
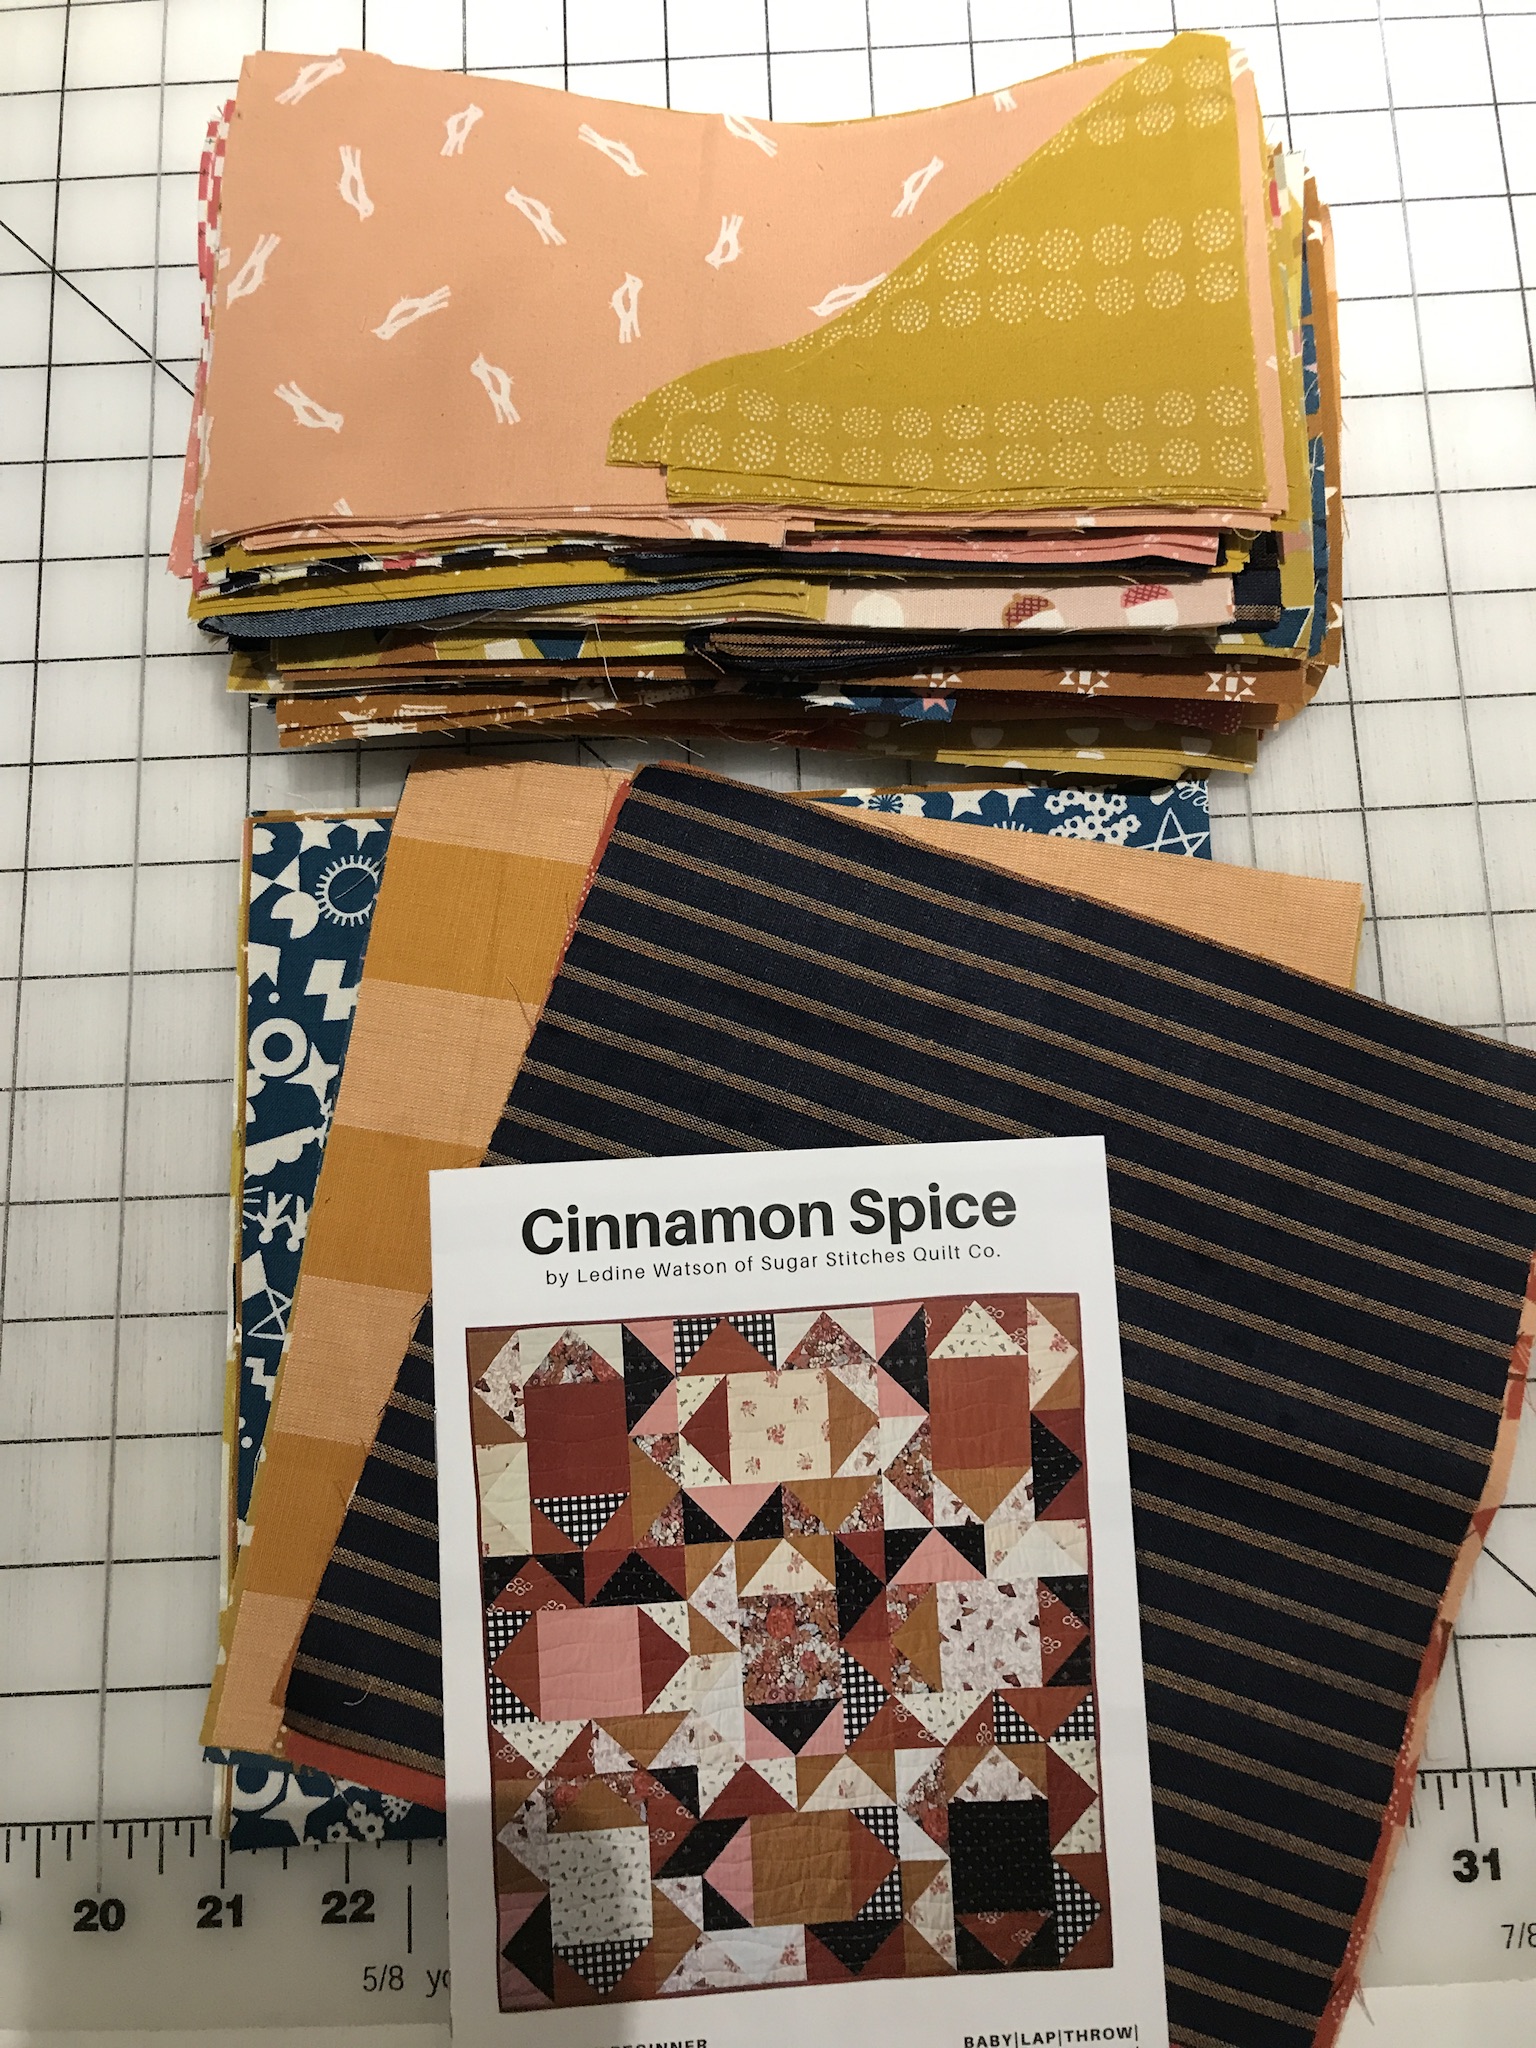
Lucky for me, I found the perfect fabrics in my stash: the multi-color print is Jennifer Sampou’s Color Rhythm from a few years ago, the gray/white print is Natalie Barnes’ Hand Maker fabric line, the purple is Basic Grey’s Grunge and the teal is Zen Chic’s Spotted. Usually I have a hard time choosing just four fabrics which can take hours but I’m glad to have found yardage of the Color Rhythm print which was perfect in setting the tones for Pop Star.
I can’t say enough how fast the sections sewed and came together. I thought I heard Snap, Crackle, Pop Star.

Quadrant straight-line quilting, 1” apart with a steel gray #50 Aurifil thread nicely accentuated the quilt pattern and fabrics.

Again good quilt karma was with me with the backing found in my stash of Riley Blake’s Girl Power which was so perfect for Pop Star. I usually don’t show a full photo of my backing but couldn’t resist this time. I hope you can see the quilting. It’s nice that you only needed WOF for the backing, no piecing if you have at least 1-1/4 yard piece. The binding is the multi-color Jennifer Sampou Color Rhythm print which I hand sewn and usually don’t do. Would you believe there is wall space available in the darling Granddaughter’s bedroom at the GP House to hang Pop Star? It will go well with all of the other colorful quilts in her room.
I wish I was able to take a pic of Pop Star when the purple irises were at its peak of loveliness but the weather and quilt finishes very rarely are in sync with each other. Now that another year of participating in Celebrating a Famous Canadian’s Birthday QAL is underway, I have to thank Sandra for another great pattern and fun QAL. I can’t wait for next year’s QAL; maybe I’ll QAL well with others (wink). Be sure to visit her blog to see the other participants’ Pop Star quilts.
Along with this QAL, June is a big month for celebrating birthdays; Demando is turning the big Four-O grand doggie Daisy will be 11 and I, myself will be celebrating the golden anniversary of being an adult and of course there’s Father’s Day. We’ll be leaving later in the morning for a vacation in the mountains and I decided my road project will be knitting so I started three different shawls in three lovely colors because knowing me I get bored knitting the same color after awhile. I’m also bringing some hexies to sew together just in case I miss sewing and fabric.

Wednesday, June 8, 2022

New Pattern Launch: mmmquilts’ A Roll of the Dice

Sandra, mmmquilts, just launched her newest pattern “A Roll of the Dice” yesterday and am excited to have been included in this fun. Last month, she asked a group of her “quilting friends” or for the purpose of injecting some humor in this post, I’m saying we’re “Guinea Pigs”. A group of guinea pigs is called a muddle so a group of guinea pigs testing a mmmquilt pattern would now be called a “mmmuddle” so we, the mmmuddle, were asked  if we would be interested if making one of her pattern projects which were a baby quilt, bed runner or pillow. As you can see I had a game plan for her pillow pattern.
I have to mention how I came up with this idea. I was catnapping at the Grandparent House while waiting for the darling granddaughter to come over. I was awakened by the ping of my iPhone alerting me that Sandra sent me an email and a photo of a quilt was attached. My eyes really opened up when I saw the photo and for a brief moment I was startled because I thought I missed the start of her Pop Star QAL parade and I was in trouble because even though I finished the flimsie in mid April, I had not yet quilted it nor written a post and was not ready to participate. Then I remembered that it was only May 23rd and the parade wasn’t until June 15th, three weeks later. After I recovered and read her email and realized it was a new pattern,  I told her I would be glad to make one of the projects and my first take was going to be the baby quilt but only using three out of the five blocks. I realized after several days later that I really need to  follow her pattern and to “behave” myself which after participating or being an Alummmnus in several of Sandra’s QALs I find hard to do. Looking at the pattern title and remembering I once made a comment on a friend’s FB photo of  a board game on her table runner that I thought a table runner matching a board game would make a wonderful housewarming or hostess gift, I decided to make a game/dice mat based on the pillow pattern.
Before I could chose the fabrics for the game/dice mat, I first had to find a game preferably a dice game and I would have the fabrics in the colors of the game/box in my stash. I was lucky to find the QWIXX game while perusing on Amazon (not an affiliate link) and ordered it. 
Based on the photo of the QWIXX game, finding the fabrics in my stash was no problem: the dice blocks were made with Alison Glass’ Cross Stitch prints bordered with a fun tone-on-tone black print from years ago and backed with a Laurel Burch Fanciful Felines print which I have to say were perfect for the game/dice mat.
Quilting was simple and easy with first only doing in the ditch around the color patches and then outlining the blocks. After that was done, I decided to crosshatch each of the blocks which turned out to be a good idea since it mimics the Cross Stitch prints.
When sewing the binding, I also attached a cord made from a 1.5” x wof strip of the black fabric so this game/dice mat could be rolled up when not in use and for another reason which you will see below.

Since this game/dice mat measures 18” square, I was hoping the QWIXX game box would be small enough for it to be wrapped in it and when the game finally arrived, it was. As mentioned earlier, I think this would make a nice housewarming or hostess gift; it’s small enough for it to be put in a gift bag filled with a bottle of wine or bottles of craft beer along with some snacks and candy like M&M peanuts which have some of the same colors as the game/dice mat. I also like to mention that rolling six dice on a table sounds pretty noisy to me so another good reason for having a game/dice mat.
One last photo of the game/die mat which like all of Sandra’s patterns was a fun and quick make. This was made in less than a day and as her pattern states it’s “Scraps and Precut Friendly”. The next time I’m at the store, I’m going to check out the game aisle to see if there are any other dice or card games which would go great with a game mat. Even though I found the QWIXX game online, they don’t give you the size of the box which you need to know if you want to wrap it in the game mat. I just think it makes for a nice presentation. Also, this would make a great Holiday gift, it’s never too early to start making them, right? A   Roll of the Dice Pattern is on sale this week for 30% off and can be purchased through Sandra’s Etsy shop Here. (Not an affiliate link but public service).

Here is the “mmmuddle” list for The Roll of the Dice Pattern launch; be sure to visit their blog and see their wonderful mmmakes (I can’t stop with these mmm words!)
Wednesday June 8 - Cushion, aka pillow cover:
Rose at SomethingRoseMade (me!)

Thursday June 9 - Bed Runner:
Michelle @peetmichelle

Friday June 10 - Baby Quilt
Anja at Anja Quilts
Carol at Quilt Schmilt
Marty @suryasmiles 
Tish at The Madd Quilter 
BTW, after I finished the game/dice mat, I did finally quilt and bound my Pop Star Quilt and I am ready for next week’s parade celebrating a Famous Canadian’s Birthday. Here’s a peek.
And lastly, I just realized in May as I’m approaching a milestone birthday next week that fifty years ago I was spending my last days of being a teenager. I don’t have a photo of me back then but I still have a painting I did finish near the end of my sophomore year of college (1972) when I was an Art Major.  I switched my major to Art History after that since at first I wanted to be a fashion designer but decided I didn’t want to deal with a sewing machine and would rather write about Art. Now look at me fifty years later—I’m dealing with a sewing machine—that is what I call Quilt Karma. If you’re wondering about the figures in this four foot square painting I called Creation, I based them on magazine photos of Kareem Abdul-Jabbar, Wilt Chamberlain and Judith Jamison of the Alvin Ailey American Dance Theater.

See you next week for the Pop Star QAL Parade and I will be celebrating my Golden Anniversary of Adulthood.

Thursday, May 19, 2022

Clamity Cloud Cluster Coverlet

My Clamity Cloud Cluster Coverlet is my May finish for the CT Dirty Dozen UFO Challenge. Like the other quilts which I’ve finished so far since July, 2021 for this challenge, this one has a story to explain how this quilt came to be or more precisely this pattern. BTW, since finishing Clamity Cloud Cluster and if I already wasn’t set on this name, I’m thinking Feedsack Fundae would have have been a good name also. The clouds are starting to look like scoops of ice cream now.
Back in 2006, I purchased a set of clam shell freezer paper pieces which I first had to cut apart by hand and then cut hundreds of feedsack fabric squares which then an individual clam shell was ironed to it and then trimmed and basted in order for the clam shells to be sewn together to make rows. Back then I didn’t have an iPhone so I have no pictures to show for this long and laborious process. The above coverlet was finished in 2014 and this was what I considered a forever project which I worked on during many road trips. Would you believe after I made this, I then made one with 30’s fabrics which has been waiting for me to add the borders for at least eight years now. After I made these, my good Quilt Peep Linda asked me if she could borrow my clam shell freezer paper pieces which were still useable so she could make one.
After she was finished with her clam shell top in 2015, Linda returned the freezer paper pieces to me along with the extras she made with feedsack fabrics as well as 40’s and 50’s fabrics. Not wanting to let these clam shell blocks lay idle, I came up with an appliqué block which I thought was different but fun.
After that, I had to separate Linda’s clam shells either by two or by one for the clam clouds and then appliqued them to rectangles of Springmaid Natural Charm muslin. Once these were finished, I then sewed strips of black/white gingham to feedsack rectangles and made around 81 of these blocks. This was an on and off project for almost seven years. Last year, I decided to add this to the UFO challenge since I hated seeing these blocks laying around my studio.
I needed to trim all of the blocks to 7” first before laying them out on my design board. I initially was planning on a 9x9 or 66” square layout with one vertical row of clouds going up and the next row going down. 
After I sewed two rows together and they were laying on the table ready for me to press the seams, I noticed that I liked the look of the clam clouds and feedsack rectangles butting up against each other. I thought the new layout would look better as a 7x10 rectangular layout which meant removing two blocks from the two rows already sewn and eliminating the blocks which contained mostly brown fabrics.
Once the blocks were sewn together, I knew I needed to add a border and didn’t think I had anything in my stash. Luckily, while I was looking at photos in my Clamshell album, I saw the Clamshell Coverlet and knew the border I used would be perfect for Clamity Cloud and I still had a length of it leftover which was enough for a 2.5” border and binding. I was planning on quilting Clamity Cloud but decided against it and made it a coverlet by just sewing a fabric backing (no batting) like I did with the Clamshell Coverlet. (FYI, when I just back a quilt top with just fabric, I call it a coverlet and when I back it with a plush I call it a throw). Because I used Natural Charm muslin for the appliqued portion of the block which was thin, I could not use a print for the backing since it would show through. I had yardage of Kona Snow in my stash which I ended up using and am pleased with how it looks backing the appliqué. I quilted in the ditch along the vertical rows and in the borders with a 50 wt. Aurifil thread in Natural. The binding was hand sewn and because there was no batting, it was slow because I had to make sure the stitches did not go through to the top which can easily happen. The Clamity Cloud Cluster Coverlet measures approximately 52”x 70”.
And now I have a couple of Clamshell Coverlets. Despite not having any batting in the middle, the first Clamshell Coverlet folded up nicely and did not have any deep creases from sitting on the shelf for the past eight years. After finishing the Clamity Cloud Cluster Coverlet, I pulled out the 30’s clamshell and decided it is time to finally pick a border fabric. I’m thinking green. If I participate in the 2022/23 CT Dirty Dozen UFO Challenge, this should be one I list.

Wednesday, May 4, 2022

A Pair of Patchwork Throws

Whenever I back a quilt top with just a plush fabric like Minky, I call them a Patchwork Throw since there is no batting in the middle. I’ve made at least twenty Patchwork Throws during the last six years and like to make them for a number of reasons; they finish quick with simple quilting, feel and wash nicely, no need to iron the plush fabric and a nice way to finish a flimsy which may have been sitting around for too long. The pair above are for me, the one on the right is for my bedroom at home and the one on the left is for me to use when sleeping in the darling Granddaughter’s bedroom. Here are some deets on these pair of Patchwork Throws.
The Amy Butler Patchwork Throw is my April finish for the Country Threads Dirty Dozen UFO Challenge. This is the second patchwork throw finished for the Challenge, the first one Innocent Crush was posted last August and I mentioned that I would be finishing the Amy Butler throw some day. Both of these throws were made with 8” HST from over five years ago when I went on a die-cutting spree after I purchased the die. This throw measures 48” x 64”, a nice lap size for keeping the legs warm when sitting and is backed with one of my favorite plush fabrics in lime green. I machine quilted with straight and diagonal lines and was pleased with how it looks and feels. BTW, this is the second patchwork throw made with the Amy Butler fabric since I made almost 100 HSTs back then. The first throw was a quick gift I made for my Godmother who was recovering from a knee injury in 2016 and also the first time I ever made a patchwork throw. I can’t say enough how nice these are.
After I finished the Amy Butler Patchwork Throw, I thought I would work on my Carrie Bloomston quilt which is a modified Unruly Pattern by Kelly Young, My Quilt Infatuation (not an affiliate link). I started  sewing the strip sets almost a year ago and finally pieced the blocks. After the flimsy was finished, I decided to make it a patchwork throw since I needed one and I like them for sleeping. I bring one whenever we travel and stay at a hotel. I have to mention that the second patchwork throw I ever made was with Carrie Bloomston fabrics but a little smaller.
The backing is a gray chenille plush which is another favorite. I machine quilted with straight vertical lines spaced 2” apart. Again, this throw quilted beautifully. The gray binding was the only print which is not a Carrie Bloomston fabric and is a print from Ann Kelle’s Remix fabrics. This throw measures 54” x 90”. 
The Master Quilt Holder was able to help me this time as his knee is feeling a lot better.  He was able to climb the step ladder to hang one throw and stoop a little for the other throw—glad to have him back. I wish the weather would have been nicer for the photos outside but we’ve been experiencing cloudy and rainy weather for the past week. Supposedly, we may have some 80 degree days next week but I’m pretty sure I won’t have a quilt ready to photograph outside. Would you believe the next project I’m working on involves more Carrie Bloomston fabrics. I forgot to mention earlier that I really love her fabrics.

I’m looking forward to a nice and relaxing Mother’s Day weekend and hope you are too.

Linking up with: My Quilt Infatuation/NTT

Thursday, April 21, 2022

Cracker Jack

I had plans to work on my April quilt for Country Threads Dirty Dozen UFO Challenge but decided I was in the mood to finally finish my Cracker Jack quilt instead. I thought the flimsy was done in December but it turned out it was finished the first week in February. I did though purchased the pattern Cinnamon Spice  designed  by Ledine Watson of Sugar Stitches Quilt Co. (not an affiliate link) last year. 
I loved this pattern when I first saw it on IG; it’s a great scrappy pattern made of squares and flying geese blocks which I could die-cut. What I especially liked about the Cinnamon Spice pattern is that it was quilted with horizontal wavy lines which is something I can do and that it was available as a paper pattern. At that time, I was having problems printing pdf files but would you believe that just recently, moi, the computer challenged, was able to set up the wi-if settings on my printer-game changer-it’s so nice to now print from my iPhone or iPad.
I chose to make the throw size quilt since I need a new wall hanging for the family room. I decided on a palette based on several of the multi-color prints, of blues, persimmon/peach/pinks, chestnut browns and golds and needed twenty-four fat quarter which I easily found in my Cotton+Steel/Ruby Star Society stash. 

If there is anything I would have done differently with my fabric choice is to have added more darker blues and used more fat quarters for variety.  I found having only twenty-eight different flying geese blocks was too limiting when you need six different ones for each block. I really had a hard time finding a layout which I liked since the same fabrics/colors were too close to each other to my liking but decided after the sixth layout that this is what the pattern was all about. And if you’re wondering why I named this quilt Cracker Jack,  it’s because these colors were yummy and gave me the taste for munchies like pretzels and cheese, caramel and cheese popcorn mix or Chex Mix. Surprisingly, I do not keep or bring any snacks to my basement studio. I thought Cracker Jack would be a good name since it is one of my favorite snacks “caramel coated popcorn, peanuts and a prize”and I was going “crackers” over the layout. Cheez Whiz was also a consideration.
I knew I wanted to machine quilt wavy lines like the pattern; Aurifil threads were used, gold on the top and navy on the bottom. The backing was pieced with two Cotton+Steel navy prints from the stash and the binding was the plaid Hatbox print which was also used in the top.  Cracker Jack measures 64” square and the Cinnamon Spice pattern can be made in two other sizes. I already have plans to make another one with Fall fabrics.
I thought I end this post with a photo of the Apprentice Quilt Holder, Demando, with his injured right hand which was not caused by holding up one of my quilts. He severed two tendons on his pinky finger while on the job which resulted in surgery. Yes, he is right-handed and, hopefully, he will be healed by May. Both he and the Master Quilt Holder with his sore knee are doing PT so I’ve been doing more schelping than usual. And now, I’m back to working on my April UFO, the flimsy is done and hopefully I can add the plush backing before we head to the GP House.

Linking up with My Quilt Infatuation/NTT and TGIFF hosted this week by Homesewn by Us.

Thursday, April 14, 2022

Celestial Moonrise

After finishing my UFO project commitments, studio reorganization, taxes, QALing, a somewhat secret sewing project, etc., I was finally ready in April for easy sewing involving some new fabrics.
Ever since I received my Fat Quarter Sew Sampler box in February which included a junior Jelly Roll of Zen Chic Celestial, I’ve been wanting to make a version of my Staggered Strips and Squares Quilt. It also helped that I already had in my stash another junior Jelly Roll and Fat Quarters of Zen Chic’s Modern Background Even More Background. I still needed to buy additional yardage of the Celestial fabric since I wanted to include more pink and feature the main focus print of the circles and text which ties in most of the colors.
After die-cutting the additional 2.5” strips, I then subcut the approximate 110+ strips into various segments of 5” to wofq depending on the colors. My initial plan was to do a horizontal layout of the strip sets with an 8”(f) square of the focus print but changed it to a vertical layout with an 8”x12”(f) rectangle of the focus print since I love this print so much.
My favorite part of this pattern is first sewing the strips together, then sewing the very long strip together to make two rows and then sewing the two rows together to make a four-row strip set. After this was done, I then subcut twelve 8-1/2”x16-1/2” and three 8-1/2” x 84-1/2” strip sets/panels. This was going to be a quick quilt I thought with a row of the rectangle focus print with an 8-1/2”x16-1/2” strip set alternated with an 8-1/2”x 84-1/2 strip set.
After the flimsy on the left was sewn, the layout looked off balanced with the row of rectangles on the top. I realized I should have started and ended this row with an 8-1/2” square of the strip so I trimmed 8-1/2”off the bottom and then sewed it to the top. But I still was not happy with the way the rectangles looked with the strip sets.
I decided that I wanted the rectangles to “float” more so I added a two row strip set to each side of the flimsy which was an easy fix since I had almost enough left over from the original strip set sewn, I just had to seam rip it apart and then sew some more patches. 
Once I was finally happy with the flimsy, I can say finishing Celestial Moonrise was easy. I had to piece a backing which is something which I do not like to sew but I only had a four-yard piece of the gray Good Neighbor strip. Normally when I use a stripe print for a backing, I like it to run vertically but since I wanted to use this, I was okay with the stripe running horizontally and in order to have enough length, I inserted an 8” strip of the gray Impressions Newsprint which is another print from Connecting Threads (not an affiliate link). Machine quilting went well, and it helped that I was able to use my laser light to keep the lines straight whenever I had to quilt over the rectangles. BTW, when I cut the rectangles, I made sure to cut it so that the circles would be centered on the strip set.
The machine quilting was a combination of straight and curvy lines which is my favorite whenever I make  this pattern. I used the focus print for the binding also which I love how it add an interesting touch to Celestial Moonrise. It almost looks scrappy which I am one who does not like to do scrappy bindings but I might consider it now for the right quilt. This quilt measures 64” x 84”.
I wanted to take a photo of Celestial Moonrise outside and this was the best I could do since today we’re having high winds up to 60+ miles. I really need to stop making such long quilts since the Master Quilt Holder has trouble demonstrating his ability when they’re this long especially since he is experiencing some knee problems now (nothing I did but maybe the darling Granddaughter was involved). As for the Apprentice Quilt Holder, his right arm is in a cast and neither I nor the Granddaughter was involved in this.
Once last photo of Celestial Moonrise and I think the colors of the fabrics look better here. It’s nice to finally make a quilt you’ve been just “itching” to make but you surprisingly stayed on task plus getting to use some new fabric. Now it’s back to the Quilt Mines since I have to start working on my April quilt for the Country Threads Dirty Dozen UFO Challenge.

Wishing you a Happy and Blessed Easter.

Linking up with: My Quilt Infatuation/NTT